Home > Africa > South Africa > Related Images
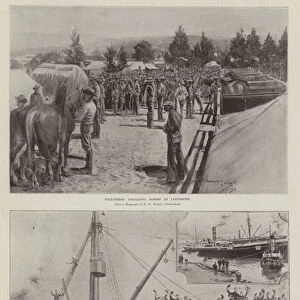
The Transvaal Crisis, Troops for the Cape (b / w photo)
")
![]()
Wall Art and Photo Gifts from Fine Art Finder
The Transvaal Crisis, Troops for the Cape (b / w photo)
1592708 The Transvaal Crisis, Troops for the Cape (b/w photo) by English Photographer, (19th century); Private Collection; (add.info.: The Transvaal Crisis, Troops for the Cape. Illustration for The Illustrated London News, 7 October 1899.
English Photographer (19th Century)); Look and Learn / Illustrated Papers Collection
Media ID 23070880
© Look and Learn / Illustrated Papers Collection / Bridgeman Images
Army Service Corps Attached Cape Commanding Inspection Non Commissioned Officers Officers Ordered Quitting Second Boer War Transvaal Crisis Troop Ship
FEATURES IN THESE COLLECTIONS
> Africa
> South Africa
> Related Images
> Arts
> Artists
> Related Images
> Fine Art Finder
> Artists
> English Photographer
> Fine Art Finder
> Artists
> English School
MADE IN AUSTRALIA
Safe Shipping with 30 Day Money Back Guarantee
FREE PERSONALISATION*
We are proud to offer a range of customisation features including Personalised Captions, Color Filters and Picture Zoom Tools
SECURE PAYMENTS
We happily accept a wide range of payment options so you can pay for the things you need in the way that is most convenient for you
* Options may vary by product and licensing agreement. Zoomed Pictures can be adjusted in the Cart.