
Command Module Collection
The command module, a crucial component of the Apollo spacecraft, played a pivotal role in the historic mission to the Moon


All Professionally Made to Order for Quick Shipping
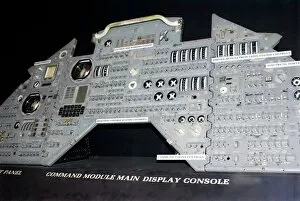
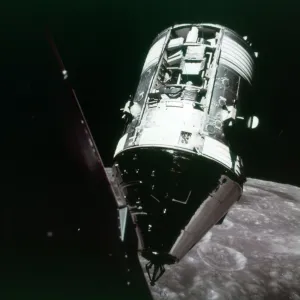
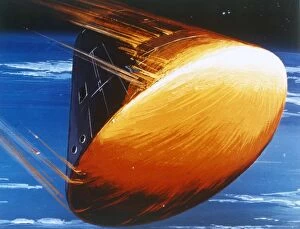
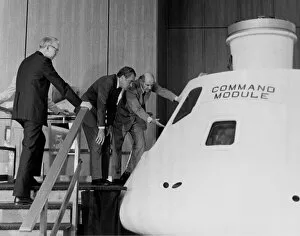
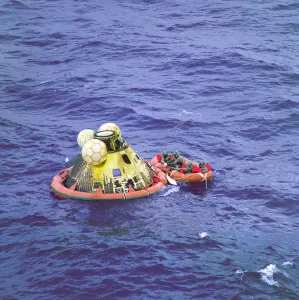
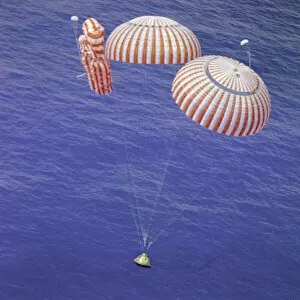
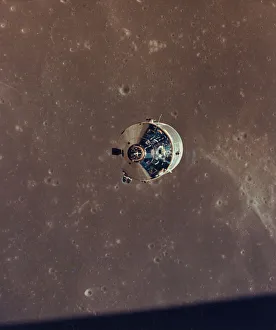
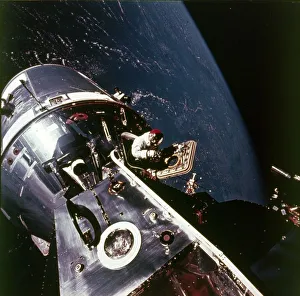
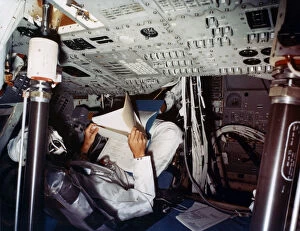
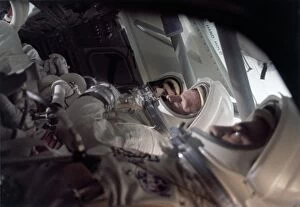
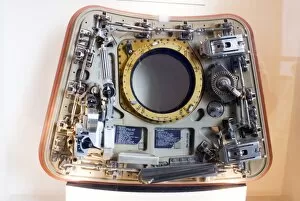
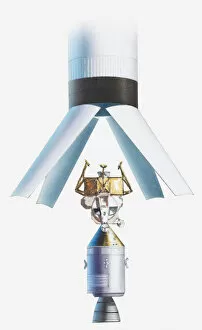
The command module, a crucial component of the Apollo spacecraft, played a pivotal role in the historic mission to the Moon. As it gracefully approached our celestial neighbor, an awe-inspiring artwork captured its majestic presence against the lunar backdrop. Inside this technological marvel, astronauts relied on the intricate Apollo control panel to navigate their way through space and execute critical maneuvers. Fast forward to Earth's atmosphere as depicted in an illustration of the Apollo 11 command module re-entering with fiery intensity at a scorching 5000 degrees Fahrenheit. This image showcases both the immense heat endured by this resilient capsule and NASA's commitment to ensuring safe returns for their brave explorers. In December 1972, during the Apollo 17 mission, we witness another remarkable moment as the Command and Supply Capsule descends towards splashdown. The sight of this vessel being carefully recovered by NASA personnel aboard a ship is reminiscent of past triumphs such as Gemini 10's successful return in 1966. Speaking of which, let us not forget Gemini 5's capsule being hoisted onboard a recovery ship back in 1965 or Gemini 12 elegantly descending for splashdown just one year later. These moments symbolize humanity's ability to conquer new frontiers and safely return home. Even amidst these daring missions, camaraderie shines through as seen when Gemini 9 crew members wave enthusiastically to their rescuers aboard USS Wasp in June of '66. Such gestures remind us that exploration is not only about individual achievements but also about teamwork and support from those on Earth. As we delve further into history, Thomas Mattingly captures our imagination with his depiction of Apollo 16's Command Module soaring over our Moon in '72—a testament to mankind's audacious spirit reaching beyond earthly boundaries. Finally, we revisit Gemini program milestones like Gemini 9A splashing down gracefully after completing its objectives—an accomplishment that paved the way for future successes within the space program.