
Second Transvaal War Collection
"The Second Transvaal War: A Glimpse into the Heroic Struggles and Unyielding Spirit" In this captivating collection of photographs


All Professionally Made to Order for Quick Shipping
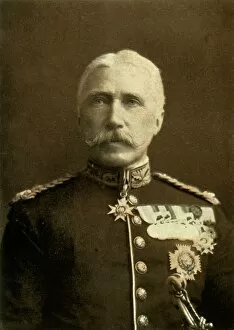
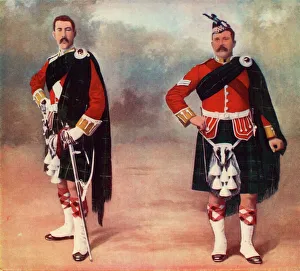
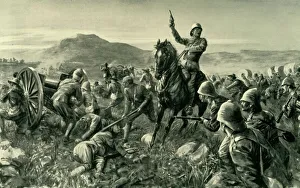
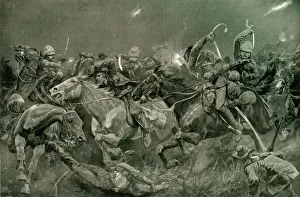
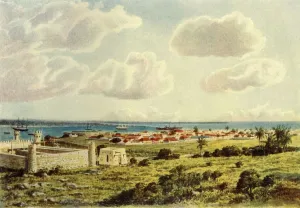
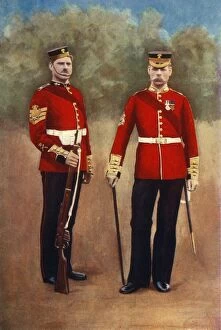
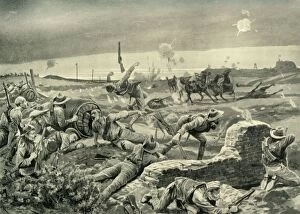
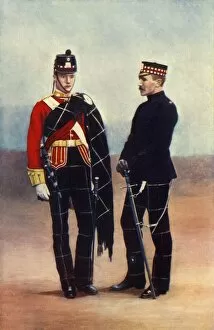
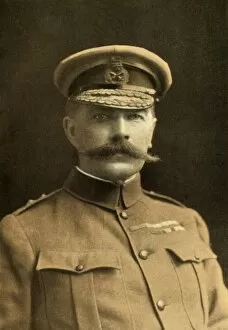
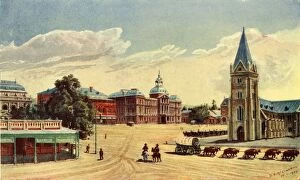
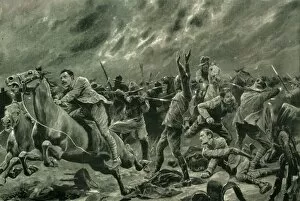
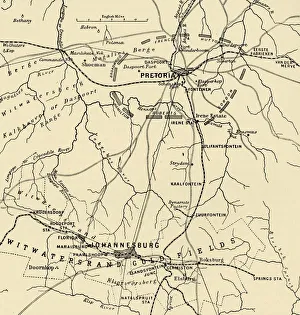
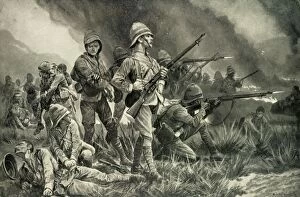
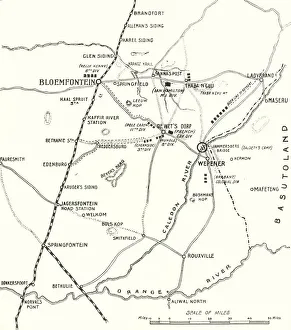
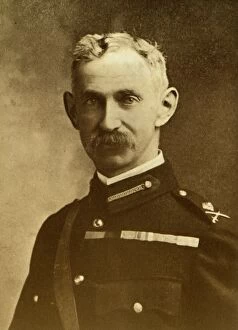
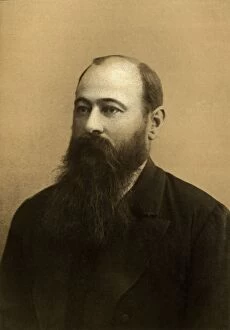
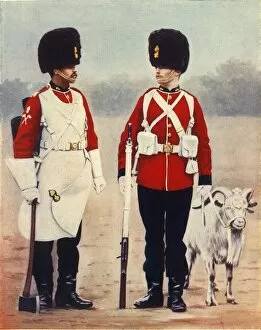
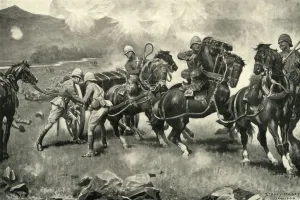
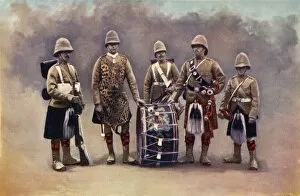
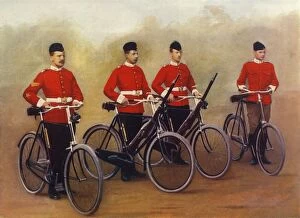
"The Second Transvaal War: A Glimpse into the Heroic Struggles and Unyielding Spirit" In this captivating collection of photographs, we are transported back to the tumultuous era of the Second Transvaal War. Each image encapsulates a unique moment in history, showcasing the bravery and resilience of those involved. The Household Cavalry-Captain from the 2nd Life Guards stands tall and resolute, embodying the unwavering determination that defined this conflict. His steely gaze reflects both his duty and his commitment to protecting his comrades. Amidst the chaos, The Cape Town Highlanders emerge as a symbol of unity and strength. Their kilts billow in defiance against adversity, reminding us that even in times of darkness, camaraderie can prevail. Lord Methuen's rallying cry at Tweebosch serves as an inspiration to all who witness it. Despite setbacks and broken forces, he leads with unwavering resolve, urging his men forward towards victory. The Night Charge of the 19th Hussars near Lydenberg is frozen in time—a breathtaking display of courage under cover of darkness. These brave soldiers charge fearlessly into battle, their horses galloping through uncertainty towards triumph. Major-General Hector A. Macdonald's commanding presence exudes authority and experience. Decorated with honors earned on countless battlefields, he embodies leadership amidst chaos—steadfastly guiding his troops through treacherous terrain. General Sir Bindon Blood personifies strategic brilliance—a mastermind behind successful operations throughout this arduous campaign. His keen intellect proves invaluable in navigating complex military maneuvers during these trying times. In one poignant photograph titled "The Fight at Brakenlaagte, " we witness Boer fighters charging relentlessly—an embodiment of their fierce resistance against British forces. This snapshot captures both sides locked in a deadly struggle for control over South African territories. Delagoa Bay, a strategic port, becomes a focal point of contention.