Home > Africa > Related Images
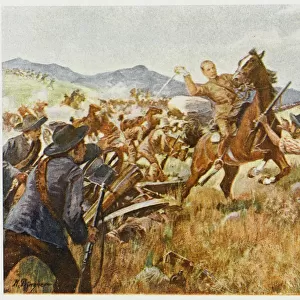
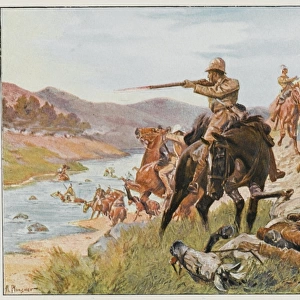
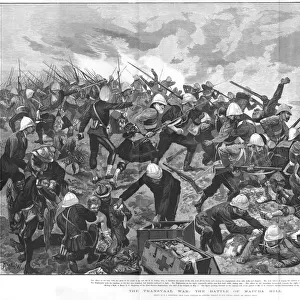
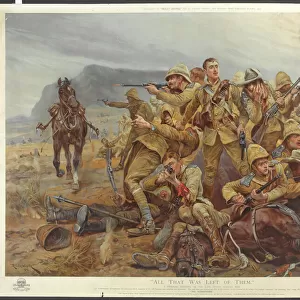
Boer War; Colenso

![]()
Wall Art and Photo Gifts from Mary Evans Picture Library
Boer War; Colenso
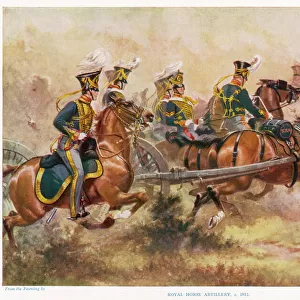
BATTLE OF COLENSO Buller fails to dislodge the Boers from their positions and has to retire, abandoning ten guns
Mary Evans Picture Library makes available wonderful images created for people to enjoy over the centuries
Media ID 615328
© Mary Evans Picture Library 2015 - https://copyrighthub.org/s0/hub1/creation/maryevans/MaryEvansPictureID/10097484
1899 Abandoning Boer Boers Buller Colenso Fails Guns Positions Retire December Dislodge
FEATURES IN THESE COLLECTIONS
> Africa
> Related Images
> Historic
> Battles
> Related Images
EDITORS COMMENTS
December 15, 1899: The Battle of Colenso - A Turning Point in the Boer War This evocative photograph captures the aftermath of the Battle of Colenso, a pivotal moment in the Second Boer War (1899-1902) between the British Empire and the Boer Republics of Transvaal and the Orange Free State. The battle took place on December 15, 1899, near the town of Colenso in Natal, South Africa. In this image, we see the defeated British forces, led by General Sir Redvers Buller, retreating from their positions after failing to dislodge the Boers from their well-entrenched defenses. The scene is marked by the abandoned ten guns, a stark reminder of the day's heavy losses for the British. Buller, who had been tasked with relieving the besieged town of Ladysmith, had initially made significant progress against the Boers. However, his advance was halted when he encountered strong Boer resistance at Colenso. Despite superior numbers and firepower, Buller was unable to break through the Boer lines. The failure to dislodge the Boers from their positions forced Buller to retreat, abandoning the ten guns in the process. The Battle of Colenso marked a turning point in the Boer War, as it demonstrated the tenacity and military prowess of the Boer forces. The defeat dealt a significant blow to British morale and marked the beginning of a long and costly stalemate in the conflict. The war would continue for another two years, with both sides suffering heavy losses before a peace settlement was finally reached in 1902. This photograph serves as a poignant reminder of the sacrifices made during the Boer War and the complex history of colonialism and resistance in Africa.
MADE IN AUSTRALIA
Safe Shipping with 30 Day Money Back Guarantee
FREE PERSONALISATION*
We are proud to offer a range of customisation features including Personalised Captions, Color Filters and Picture Zoom Tools
SECURE PAYMENTS
We happily accept a wide range of payment options so you can pay for the things you need in the way that is most convenient for you
* Options may vary by product and licensing agreement. Zoomed Pictures can be adjusted in the Cart.