
Afghan War Collection (page 5)
"The Afghan War: A Glimpse into the Turbulent Past" Step back in time to the Second Afghan War of 1878


All Professionally Made to Order for Quick Shipping
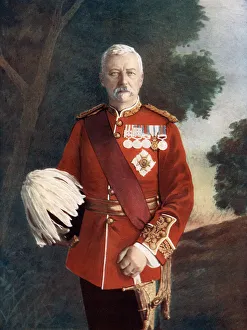
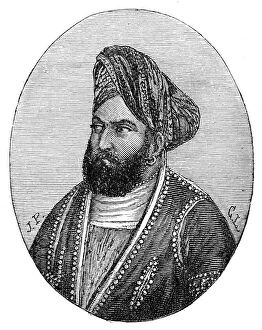
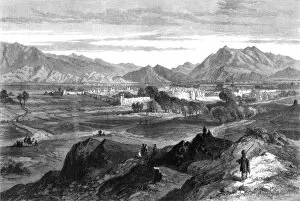
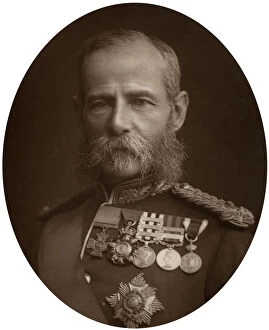
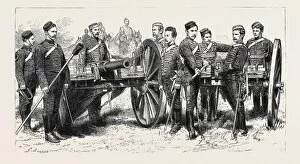
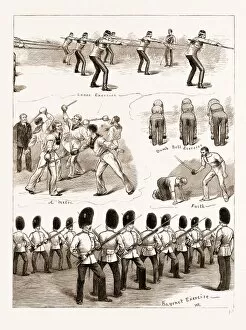
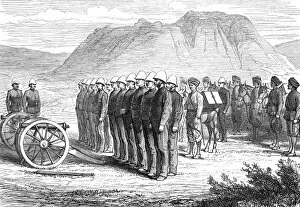
"The Afghan War: A Glimpse into the Turbulent Past" Step back in time to the Second Afghan War of 1878, where Amir Sher Ali of Afghanistan found himself trapped amidst treacherous alliances. In this historical conflict, friends turned foes and enemies became allies as power dynamics shifted. Travel further back to the First Afghan War (1839-1842), where a British Army camped outside Kabul, Afghanistan. Witness their struggles and triumphs through a contemporary English steel engraving that captures the essence of those turbulent times. Immerse yourself in The Royal Berkshire Regiment's heroic stand at Maiwand in 1880. This courageous act resonates even today, reminding us of the sacrifices made by soldiers who fought valiantly for their cause. Experience Major Wigram Battye's tragic demise during the Battle of Futtehabad in 1879. His death serves as a poignant reminder of the harsh realities faced by those on the frontlines. Witness history unfold as you delve into an image depicting the storming of Gandia Mullah by the 91st Highlanders and 2nd Gurkas in 1901. These brave warriors epitomize resilience and determination against all odds. Discover intercepted moments from this tumultuous era captured by artist Joseph Swain in his artwork from 1881. These glimpses offer insights into both military strategies and personal stories that unfolded during this period. Explore various aspects of life during wartime with engravings showcasing punishments within camps or loading camels with supplies for troops stationed there. Such scenes shed light on daily routines amidst chaos and uncertainty. Join General Sir Samuel Browne at Jellalabad's grand Durbar held on New Year's Day—an event symbolizing unity among diverse groups amid conflict-ridden times. Witness his leadership skills firsthand as he navigates through challenging circumstances. Finally, observe rituals surrounding fallen adversaries such as burning bodies or executing Ghazi assassins.