
Boer War Collection
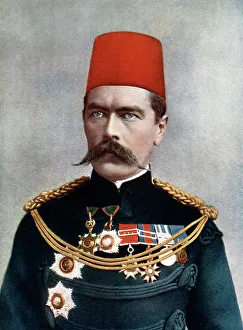
The Boer War, a significant conflict in South African history, saw the clash of two powerful forces - the British Empire and the Boer republics


All Professionally Made to Order for Quick Shipping
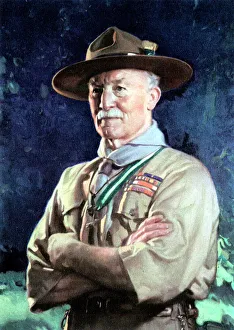
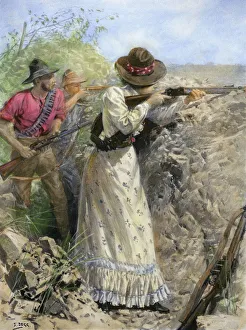
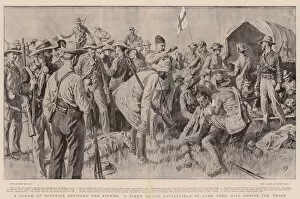
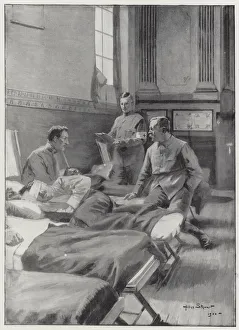
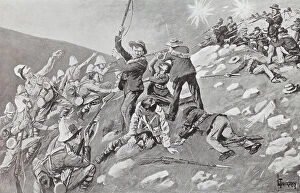
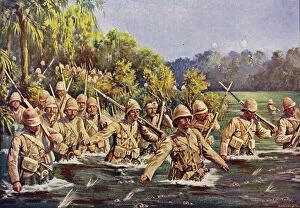
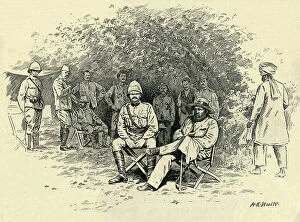
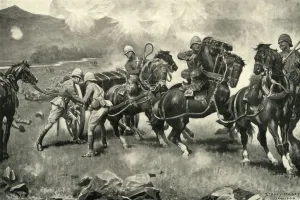
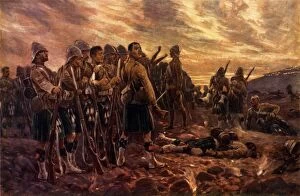
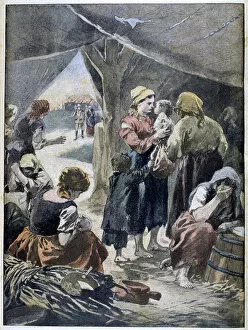
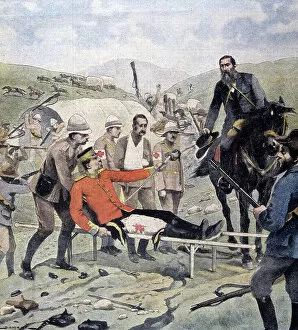
The Boer War, a significant conflict in South African history, saw the clash of two powerful forces - the British Empire and the Boer republics. Led by notable figures such as Robert Stephenson Smyth Baden-Powell and Horatio Herbert Kitchener, this war left an indelible mark on both sides. In 1902, artist G Lekegian captured the intensity of the war with his depiction of Mrs. Davies, a brave British settler firing upon Boer positions. This image symbolizes the determination and resilience displayed by those involved in this tumultuous period. Amidst the chaos, a physician and storyteller emerged to provide solace amidst suffering. Their role was crucial in keeping spirits high during these trying times. One poignant moment etched into history is General Methuen's surrender to de la Rey on March 7th, 1902. This event marked a turning point in the conflict and highlighted both bravery and sacrifice from all parties involved. Another pivotal event occurred during Jameson Raid when Leander Starr Jameson was taken prisoner after failing to achieve his objectives. This incident showcased that even great leaders can face setbacks during times of war. The impact extended beyond soldiers; families were also affected as seen through depictions of Boer families held captive in British prison camps. These images serve as a reminder of how wars often disrupt innocent lives caught up in larger conflicts. Paul Sandford Methuen, 3rd Baron Methuen's presence further exemplified leadership during this era. His actions resonated throughout history as he navigated through challenging circumstances with courage and conviction. The surrender of Jamestown garrison to the Boers stands out as another critical moment within this narrative. It serves as evidence that despite their best efforts, some battles ended unfavorably for British forces against determined opponents. However, not all moments were filled with despair; celebrations erupted across London following news of peace in the Transvaal.