
Byward Tower Collection
"Discovering the Byward Tower: A Glimpse into London's Rich History" Step back in time with these captivating engravings and photographs of the iconic Tower of London


All Professionally Made to Order for Quick Shipping
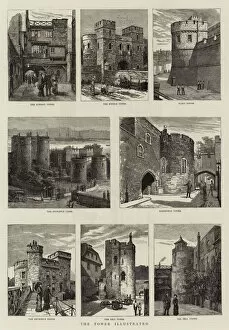
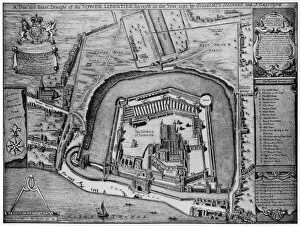
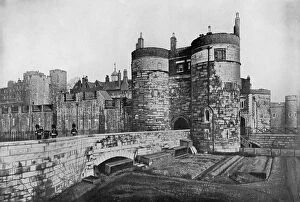
"Discovering the Byward Tower: A Glimpse into London's Rich History" Step back in time with these captivating engravings and photographs of the iconic Tower of London. The Byward Tower, a prominent feature within this historic fortress, stands as a testament to centuries of intrigue and power. Immerse yourself in the detailed sketches that bring to life the grandeur and majesty of this medieval stronghold. From "Sketches in the Tower of London" to "The Tower of London, " these engravings offer a glimpse into its formidable walls and towering architecture. Locking the Tower Gates at the Byward Tower is frozen in time through a black-and-white photograph, capturing an everyday scene that resonates with historical significance. This image transports us to an era when security was paramount within this fortress. John Crowther's artistic prowess shines through his depiction of Stepney's Tower of London in 1883. His attention to detail allows us to envision what life might have been like during that period, evoking nostalgia for a bygone era. A bird's eye view from 1597 takes us on an aerial journey over the sprawling complex, showcasing both The Byward Tower and outer ward. This perspective offers insight into how this architectural marvel fit seamlessly into its surroundings. Delve deeper with a comprehensive plan detailing various towers such as Devereux, Brick, Wakefield, Bloody Towers - each holding their own stories within history's tapestry. This intricate blueprint reveals not only their locations but also highlights significant areas like Beauchamp and Martin Towers. As we explore these images captured throughout different periods, it becomes evident why the Byward Tower remains an enduring symbol of strength and resilience amidst changing times. Its presence continues to captivate visitors from around the world who seek connection with England's rich past. Join us on this visual journey through time as we unravel layers upon layers of history embedded within every stone of the Byward Tower.