
Frontline Collection (page 5)
"Frontline: A Glimpse into the Courage and Sacrifice of War" Step back in time as we explore captivating images from various battlefields


All Professionally Made to Order for Quick Shipping
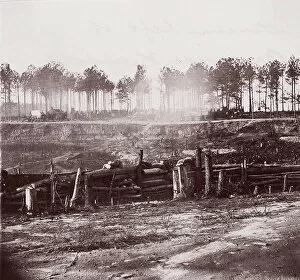
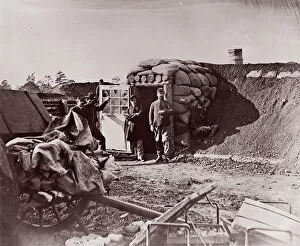
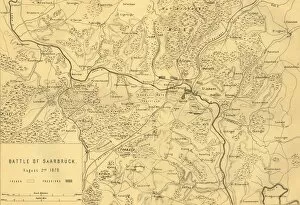
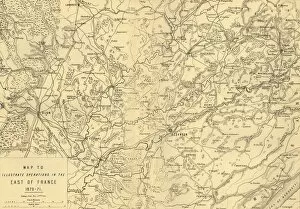
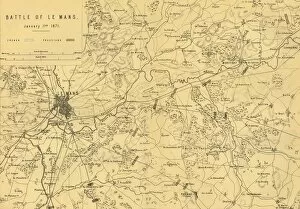
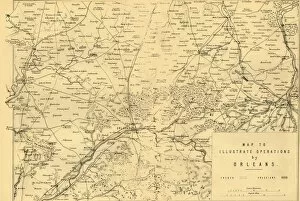
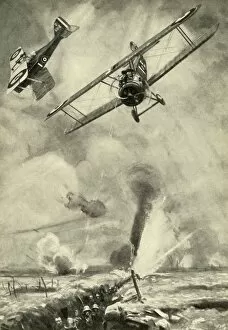
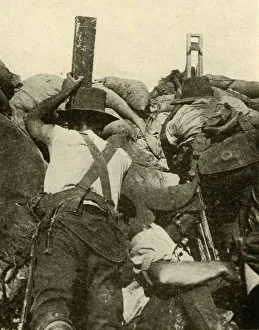
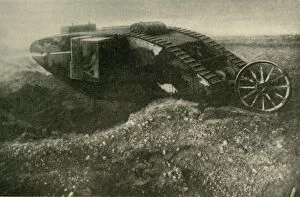
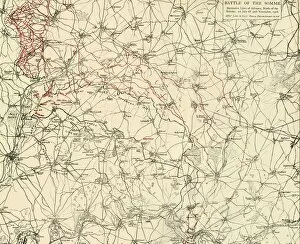
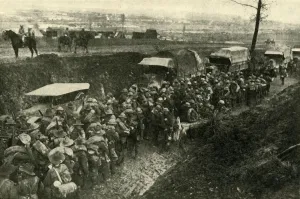
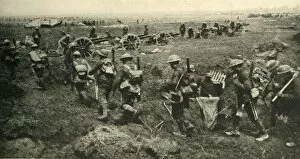
"Frontline: A Glimpse into the Courage and Sacrifice of War" Step back in time as we explore captivating images from various battlefields, shedding light on the bravery displayed by soldiers on the frontline. In "Attack of the Ulster Division, " witness the determination etched upon their faces as they charge forward on 1 July 1916. James Prinsep Beadle's creation captures a pivotal moment during World War I. Travel to Suvla Bay with an intriguing map from Gallipoli peninsula, revealing strategic positions during this fierce conflict in 1915. The unknown creator invites us to delve into history and understand its complexities. The Battle of the Somme comes alive through an anonymous artist's lens, showcasing scenes from July 1916. These haunting visuals depict both triumphs and tragedies that unfolded amidst this monumental clash. Discover how Piper Laidlaw earned his Victoria Cross on September 25, 1915. This remarkable tale unfolds before your eyes through another unknown creator's work, reminding us of individual heroism amid chaos. Amidst war's darkness, humor emerges in a thought-provoking cartoon titled "Arf a Mo, Kaiser. " Reflecting societal sentiments during WWI, it offers a glimpse into propaganda efforts aimed at boosting morale. Witness history being made as you observe "First Blood in the Battle of the Somme. " Created by an unidentified artist around 1920, this image encapsulates raw emotions experienced by soldiers stepping onto treacherous grounds for the first time. A detailed map reveals territorial gains achieved during Thiepval Ridge battles in 1916. Its intricate lines highlight strategic advancements while honoring those who fought valiantly for every inch gained. Explore positions held during one of history's longest battles – Verdun – through another mysterious artist’s depiction dating back to 1920. Gain insight into trench warfare and comprehend its immense toll on all involved.