
Ghenghis Khan Collection
"Genghis Khan: The Conqueror of Empires" In this captivating collection of historical artworks, we delve into the extraordinary life and legacy of Genghis Khan


All Professionally Made to Order for Quick Shipping
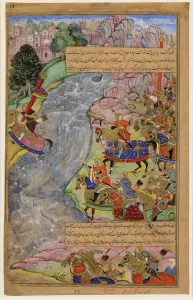
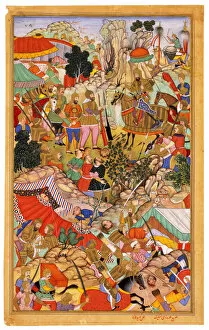
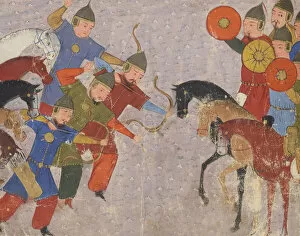
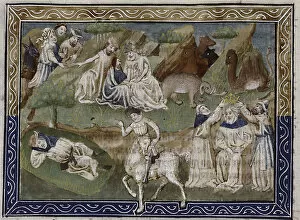
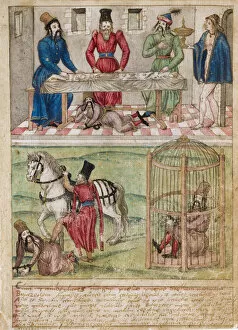
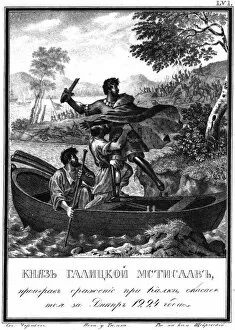
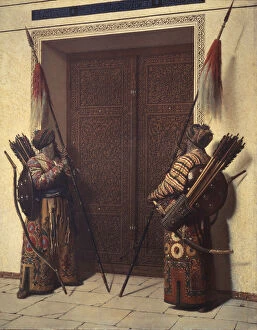
"Genghis Khan: The Conqueror of Empires" In this captivating collection of historical artworks, we delve into the extraordinary life and legacy of Genghis Khan, one of history's most formidable leaders. From his epic battles to his strategic triumphs, these images offer a glimpse into the world shaped by this legendary figure. Jalal al-Din Khwarazm-Shah's daring escape across the rapid Indus river showcases the relentless pursuit faced by those who dared challenge Chinggis Khan and his mighty army. As depicted in Dharm Das' masterpiece, the tension and urgency are palpable as Khwarazm-Shah flees for his life. Tayang Khan is presented with the severed head of Ong Khan in a chilling scene captured by Miskina. This haunting image serves as a reminder that even powerful Mongol leaders were not immune to their own demise at the hands of Genghis Khan. The South German master's portrayal of Bayezid I imprisoned by Timur transports us back to an era where rivalries between great conquerors unfolded. It depicts the ruthless nature of power struggles during that time, showcasing how even mighty rulers could be brought down. The clash between Khwarezmian army and Mongols comes alive in vivid detail through Jami al-tawarikh's miniature artwork. The chaos and intensity on both sides are beautifully portrayed, illustrating Genghis Khan's mastery on the battlefield. An anonymous artist captures Ghenghis Khan himself engaged in combat – a testament to his prowess as both warrior and leader. This striking depiction highlights his unmatched skills and unyielding determination that led him to establish one of history’s largest empires. Boris Artemyevich Chorikov brings forth Mstislav Mstislavich’s desperate flight after losing at Kalka Battle, offering a glimpse into one man’s struggle against overwhelming odds amidst the chaos of war.