
Harold Ii Of England Collection
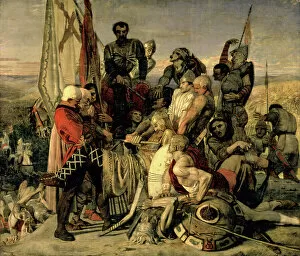
"Harold II of England: A Tragic Tale of Betrayal and Battle" In this captivating artwork, "The Body of Harold brought before William the Conqueror


All Professionally Made to Order for Quick Shipping
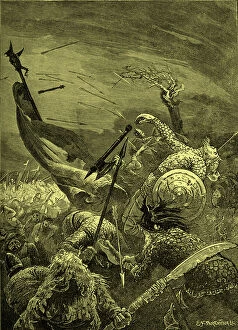
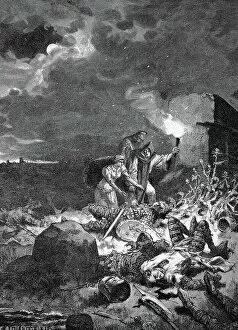
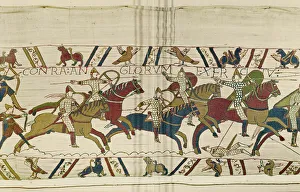
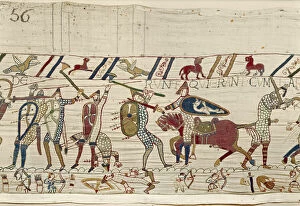
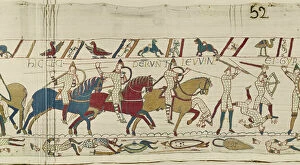
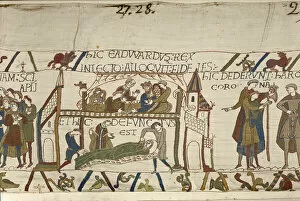
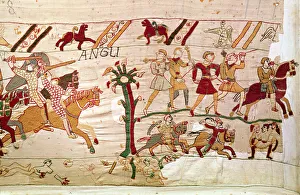
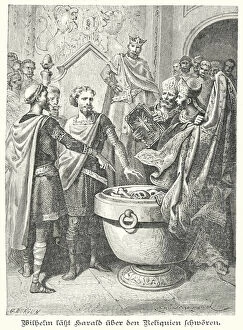
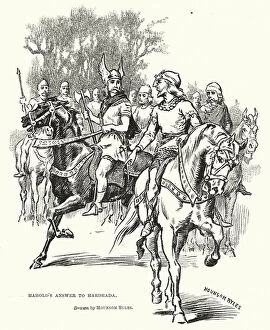
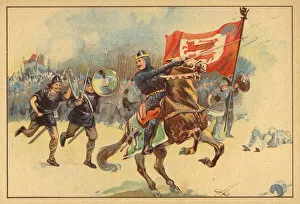
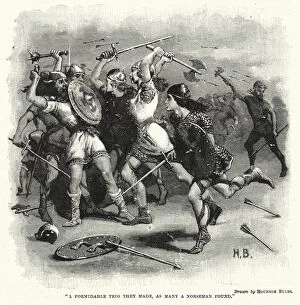
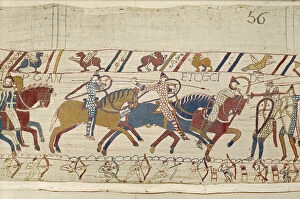
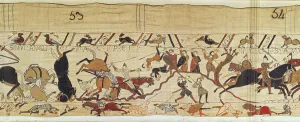
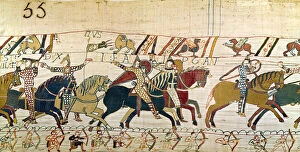
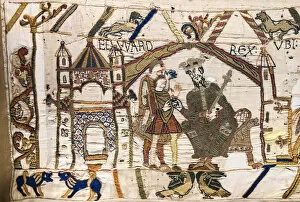
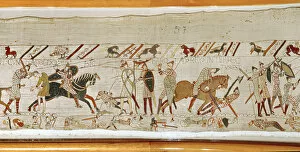
"Harold II of England: A Tragic Tale of Betrayal and Battle" In this captivating artwork, "The Body of Harold brought before William the Conqueror, " we witness the aftermath of one of history's most pivotal moments. Harold II, the last Anglo-Saxon king, lies lifeless before his victorious adversary. The painting captures the immense weight carried by both men in their pursuit for power. But who was Harold II? Known as a valiant warrior and a man torn between loyalty and ambition, he faced numerous challenges during his reign. One such challenge was Edith Swannesha, also known as Edith the Fair. Her beauty captivated Harold's heart but ultimately led to political turmoil that would shape England's destiny. "The Battle of Hastings, " depicted in exquisite detail on the Bayeux Tapestry, showcases Harold's final stand against William and his Norman army. Here fell not only brave soldiers but also two beloved brothers: Gyrth and Leofwine. Their sacrifice is forever etched into history through this remarkable wool embroidery. As we delve deeper into these historical accounts, it becomes evident that betrayal played a significant role in shaping Harold's fate. From Harolds oath to William of Normandy to his answer to Hardrada, these engravings highlight the complex web woven around him. Even King Edward the Confessor himself had an impact on Harold's story; depicted on his deathbed within another section of the Bayeux Tapestry. It was Edward's dying wish that set off a chain reaction leading to conflict and bloodshed. Witnessing "The Normans fight and kill those who were with King Harold" reminds us that war spares no one – not even those loyal to their fallen leader. The English turn in flight after witnessing their king’s demise; fear gripping them as they face an uncertain future without their beloved ruler. Harold II may have lost this battle, but his legacy lives on.