
Illustrated Library Collection
Step into the captivating world of the illustrated library, where timeless tales come to life through lithographic masterpieces


All Professionally Made to Order for Quick Shipping
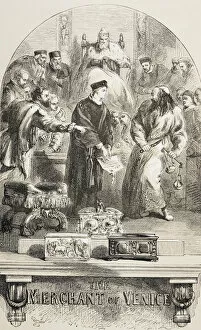
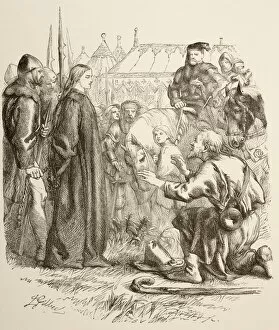
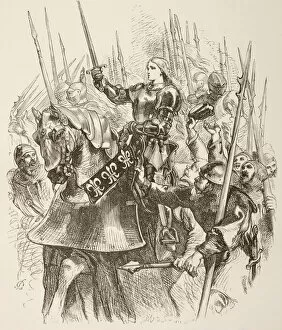
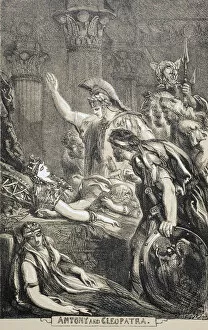
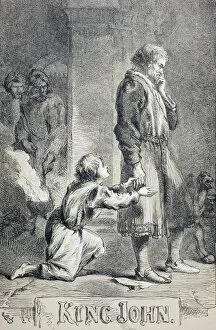
Step into the captivating world of the illustrated library, where timeless tales come to life through lithographic masterpieces. Transport yourself back to 1890 and immerse in Shakespearean dramas that have stood the test of time. "The Merchant of Venice" litho, with its intricate details and vibrant colors, invites you to witness the gripping tale of love, justice, and revenge. Feel the tension rise as "The Bastard with Austrias Head" litho unravels a story filled with political intrigue and power struggles. In "Julius Caesar" litho, behold the grandeur of ancient Rome as betrayal unfolds amidst a backdrop of ambition and loyalty. "Off with his head, and set it on York gates; So York may overlook the town of York, " exclaims a chilling scene from this tragic masterpiece. Let your heart race alongside Othello's descent into jealousy in an evocative lithograph capturing every emotion. Dive into history as "Henry IV, Part I" litho transports you to medieval England's battle for power between kings and rebels. Experience King Lear's heartbreaking journey through madness in a hauntingly beautiful illustration that captures both despair and resilience. Witness Coriolanus' struggle between duty and personal desires unfold before your eyes in another striking piece from 1890. Delve into Richard III's dark reign depicted vividly in an eerie yet mesmerizing lithograph that portrays his ruthless pursuit for power. Explore further into Shakespeare's historical tapestry with "King Henry VI, Part II" litho showcasing political turmoil during war-torn times. Or perhaps indulge in the words spoken by Hubert himself: "cut out my tongue so I may keep mine eyes. " This poignant quote resonates within an enchanting artwork from 1890 that encapsulates sacrifice for truth. Finally, encounter Sir John Falstaff at court gate breaking Skogan's head once again. Relive this humorous moment captured brilliantly within the lithographic collection.