
Second Boer War Collection
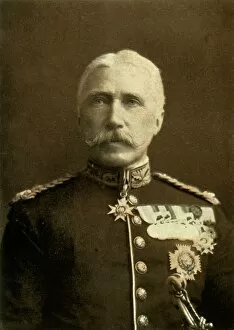
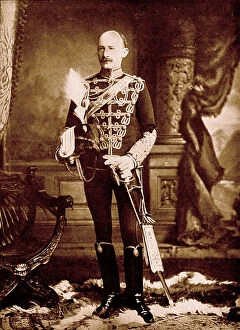
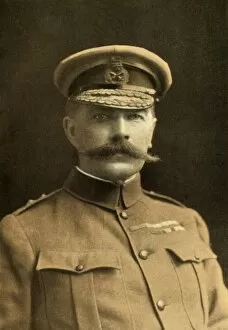
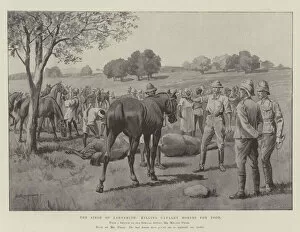
"The Second Boer War: A Glimpse into the Heroic Struggles and Triumphs" "Household Cavalry-Captain, 2nd Life Guards, 1900: Courageous leaders at the forefront of battle


All Professionally Made to Order for Quick Shipping
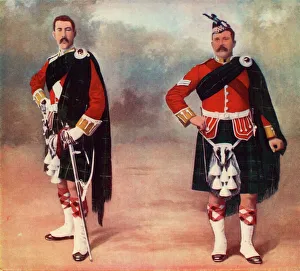
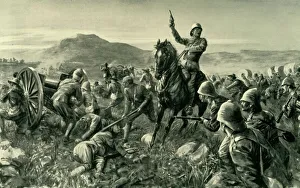
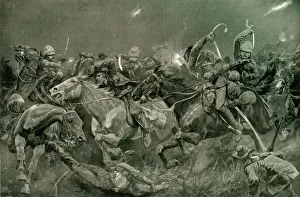
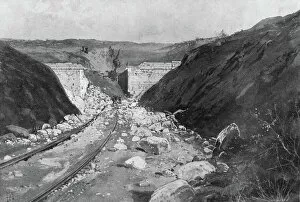
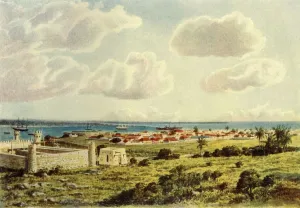
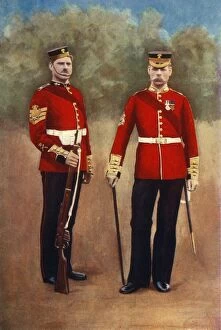
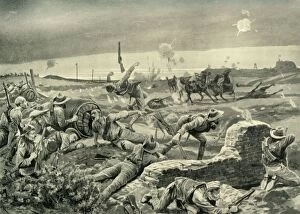
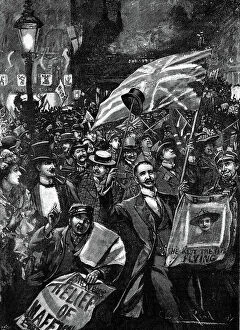
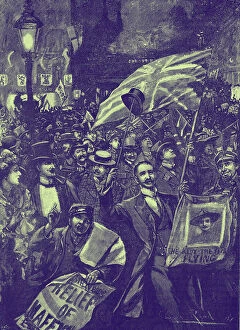
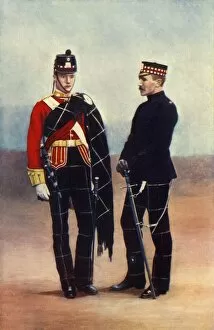
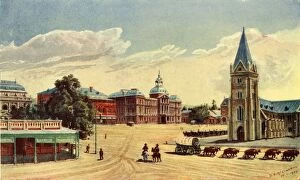
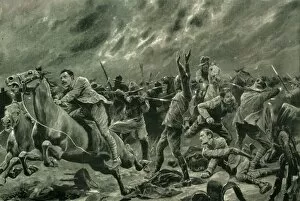
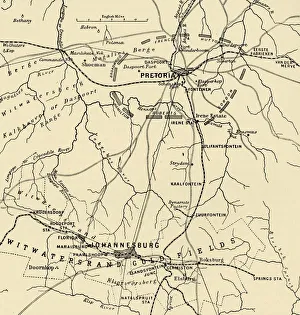
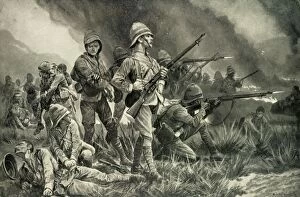
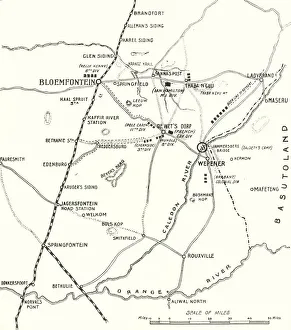
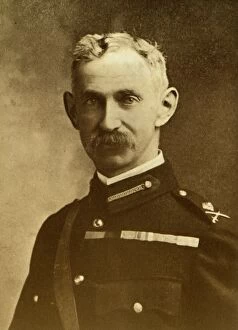
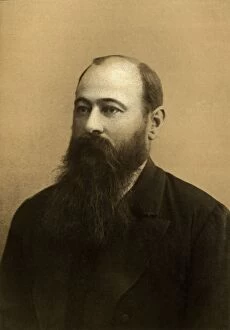
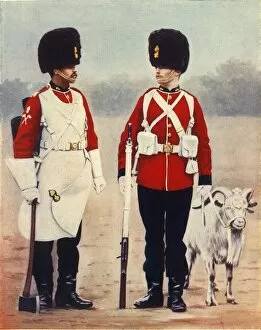
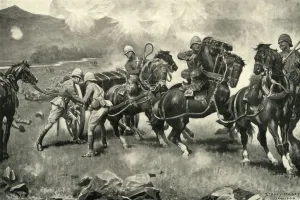
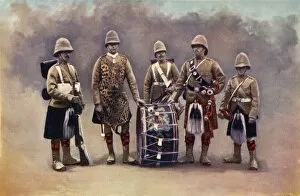
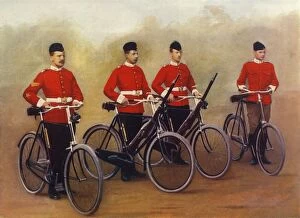
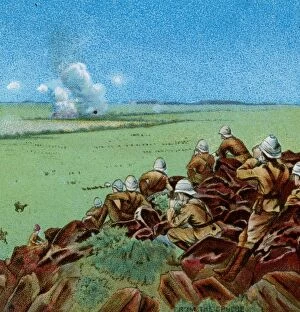
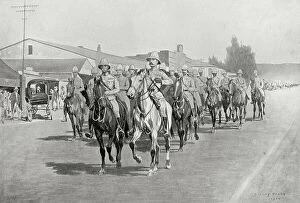
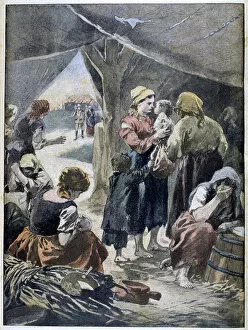
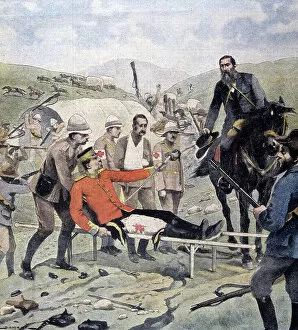
"The Second Boer War: A Glimpse into the Heroic Struggles and Triumphs" "Household Cavalry-Captain, 2nd Life Guards, 1900: Courageous leaders at the forefront of battle. " "The Cape Town Highlanders, 1900: Unyielding warriors defending their homeland with pride. " "Lord Methuen Rallying His Broken Forces at Tweebosch, 1902: Inspiring resilience in the face of adversity. " "The Night Charge of the 19th Hussars Near Lydenberg on Nov. 7th, 1900: Fearless cavalry charging towards victory under a moonlit sky. " "Major-General Hector A. Macdonald, C. B. , 1900: Distinguished leader guiding his troops with unwavering determination. " "General Sir Bindon Blood, 1902: Strategic brilliance shaping the course of war. " "SECOND BOER WAR, Tunnel at Laings Nek in Drakensberg blown open - an engineering marvel amidst conflict. " "Lord Roberts's entry into Pretoria on June 5th, 1900: The triumphant march that marked a turning point in history. " "The Battle of Belmont from South Africa and the Transvaal War by Louis Creswicke - An epic clash etched in time. " "The Fight at Brakenlaagte: Boers Charging, 1902 - Brave warriors fearlessly engaging their foes. " “Delagoa Bay, 1902 – Witnessing bravery unfold along South Africa’s coast. ” “The Grenadier Guards (Colour-Sergeant & Sergeant-Major), Gregory & Co – Exemplifying honor and discipline amidst chaos. ”