
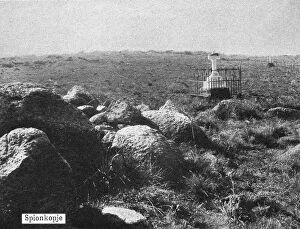
Spion Kop Collection
"Remembering the Historic Battle of Spion Kop: A Glimpse into the Past" Step back in time to Bolsover NG20 0 Map, where history unfolds before your eyes


All Professionally Made to Order for Quick Shipping
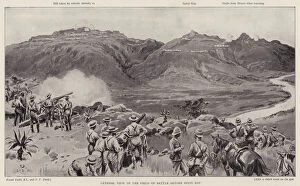
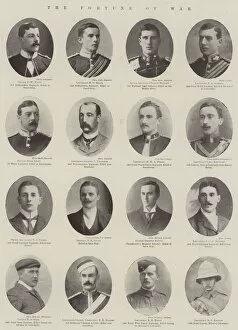
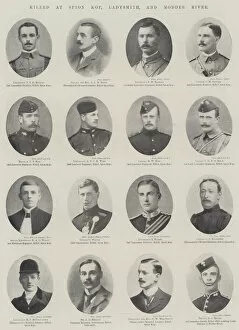
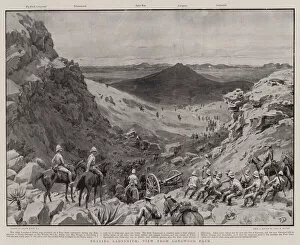
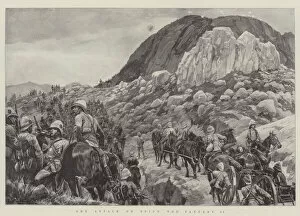
"Remembering the Historic Battle of Spion Kop: A Glimpse into the Past" Step back in time to Bolsover NG20 0 Map, where history unfolds before your eyes. Her Majesty the Queen's visit to her wounded soldiers during the battle is captured in a poignant lithograph. The general view of the field of battle showcases the intensity and magnitude of this significant event. "The Fortune of War" is frozen in a black and white photograph, reminding us of the sacrifices made by brave souls at Spion Kop, Ladysmith, and Modder River. Major-General Sir E. R. P Woodgate's tragic demise from wounds received on Spion Kop serves as a somber reminder of the toll war takes. Witness Major Thorneycroft's unwavering resistance against Boer attacks on Spion Kop through an awe-inspiring lithograph titled "Under a Hail of Shells. " Longwood Farm provides a glimpse into what it was like nearing Ladysmith during those tumultuous times. Scenes at the Seat of War come alive through captivating black and white photographs that transport you to Natal, where operations were underway. Another striking image portrays Major-General E. R. P Woodgate commanding his brigade with pride before being wounded at Spion Kop. Finally, immerse yourself in "The Attack on Spion Kop, " depicted vividly in a lithograph capturing its significance on January 24th. This caption offers just a glimpse into this historic battle that shaped nations and left an indelible mark on history.