
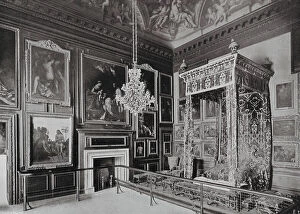
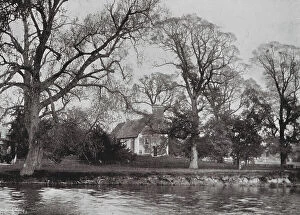
Thames Collection (page 13)
"Exploring the Rich History and Beauty of the Thames" Step back in time to 1845, as HMS Erebus and HMS Terror set sail on their ill-fated Arctic expedition


All Professionally Made to Order for Quick Shipping
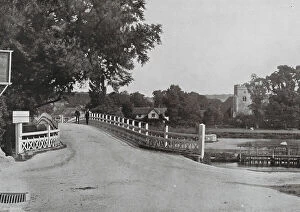
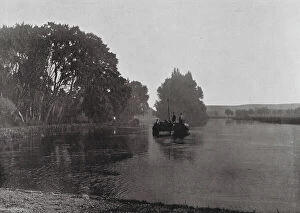
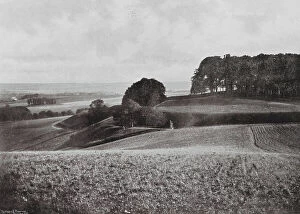
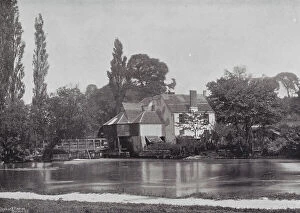
"Exploring the Rich History and Beauty of the Thames" Step back in time to 1845, as HMS Erebus and HMS Terror set sail on their ill-fated Arctic expedition. The Thames witnessed their departure, forever etching their names into its storied waters. Marvel at Isambard Kingdom Brunel's genius as he stands proudly before the launching chains of the Great Eastern. This engineering marvel would go on to revolutionize maritime travel, leaving an indelible mark on the history of the Thames. Travel downstream to Henley-on-Thames in Oxfordshire, where boathouses line its banks and rowers gracefully glide across its shimmering surface. Here, tradition meets athleticism in a picturesque setting that epitomizes English charm. Transport yourself to post-war London with a GWR publicity poster from 1946. Promoting travel along the Thames, it captures a moment of hope and rebuilding after years of turmoil. Delve into Victorian London's underbelly with Folly Ditch and Jacobs Island. These haunting images transport us to a bygone era when poverty-stricken neighborhoods lined the riverbanks – a stark reminder of both hardship and resilience. Discover another side of life along the Thames with mudlarks – individuals who scavenge for treasures amidst its muddy shores. Their stories offer glimpses into centuries past, connecting us intimately with this iconic waterway's heritage. Witness elegance personified aboard THAMES BARGE SARA as it glides effortlessly through choppy waters. A symbol of trade and commerce throughout history, these barges were vital lifelines for transporting goods along this majestic river. Immerse yourself in industrial grandeur at Tate & Lyle Refinery – an architectural masterpiece rising above the riverbank skyline. Its towering presence reminds us how industry has shaped not only London but also our relationship with this mighty watercourse. Ascend Richmond Hill in Surrey for breathtaking views over the meandering Thames.