
Transvaal War Collection
"The Transvaal War: A Glimpse into Heroism, Sacrifice, and Devastation" In the midst of the Transvaal War


All Professionally Made to Order for Quick Shipping
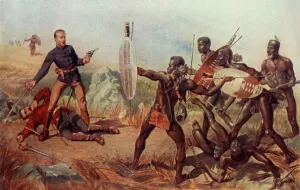
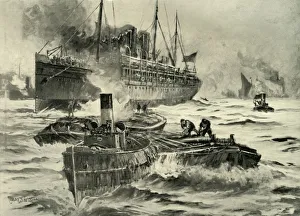
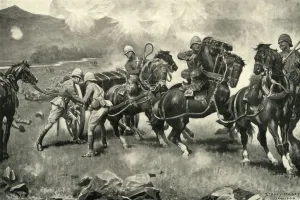
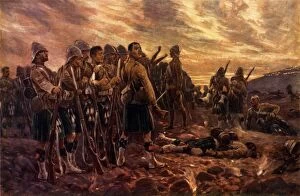
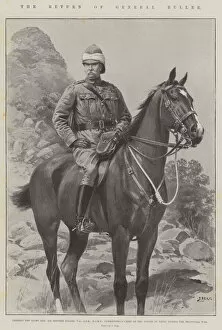
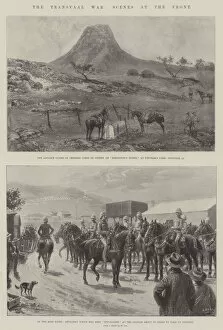
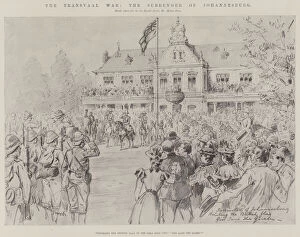
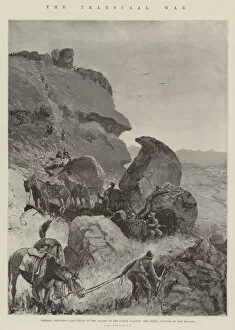
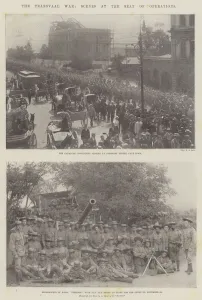
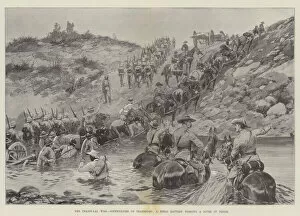
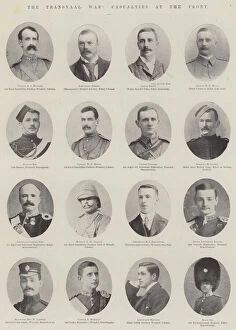
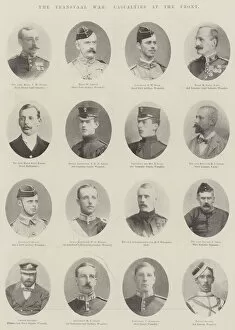
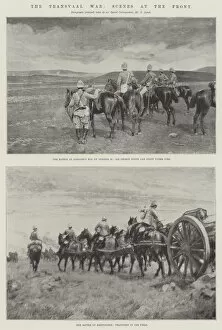
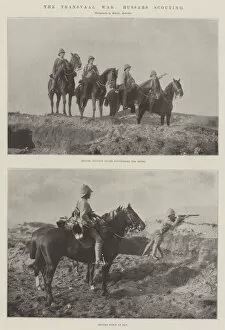
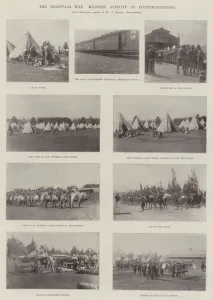
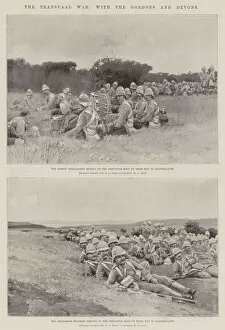
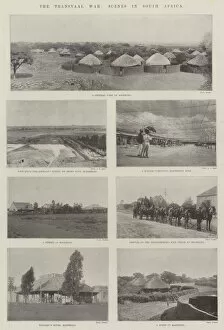
"The Transvaal War: A Glimpse into Heroism, Sacrifice, and Devastation" In the midst of the Transvaal War, Lieutenants Melvill and Coghill from the 24th Regiment etched their names in history as they valiantly laid down their lives to protect the Queen's Colours. Their selfless act epitomized the unwavering loyalty and bravery displayed by countless soldiers during this tumultuous period in 1900. The Battle of Majuba Hill stands as a haunting reminder of the fierce clashes that defined this conflict. Richard Caton Woodville II's depiction captures both the chaos and determination exhibited by those who fought on its treacherous slopes. The battle marked a turning point, leaving an indelible mark on all involved. Amidst desperate attempts to salvage what remained, The Battle of Colenso witnessed brave souls striving to save the guns of the 14th regiment. This last-ditch effort showcased resilience against insurmountable odds – a testament to human spirit even in moments of despair. As troops crossed Modder River under fire, The Argyll and Sutherland Highlanders exemplified courage amidst adversity. Their crossing symbolized hope for victory while underscoring their unwavering commitment to duty despite imminent danger lurking at every turn. Tragedy struck with unrelenting force at Magersfontein where only remnants were left behind - a poignant image depicting "All That Was Left of Them. " The Black Watch stood battered but unbowed after enduring unimaginable hardships; their sacrifice forever etched into history's annals. Scenes captured through black-and-white photographs offered glimpses into life at the seat of operations during this brutal conflict. These images transported viewers back in time, revealing both devastation and resilience amid South Africa's war-torn landscapes. General Buller's return brought hope amidst uncertainty as his lithograph portrayed a leader determined to turn the tide of battle.