
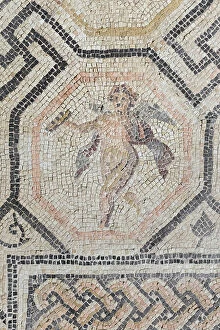
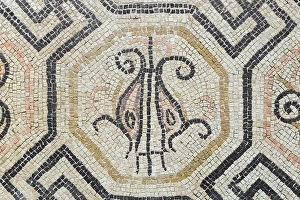
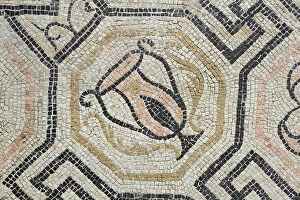
Antic Rome Collection
"Exploring the Antic Rome: A Glimpse into Ancient Marvels" Step back in time and immerse yourself in the wonders of Antic Rome


All Professionally Made to Order for Quick Shipping
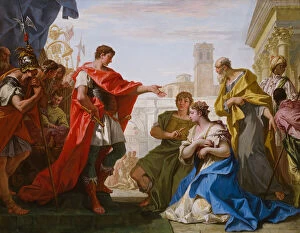
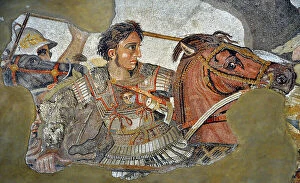
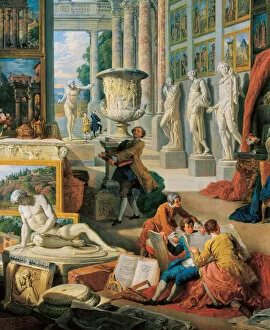
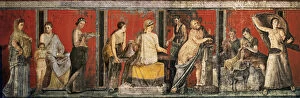
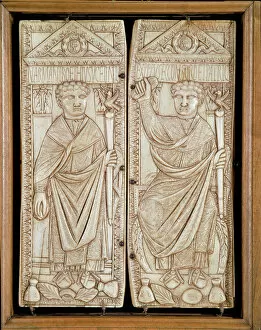
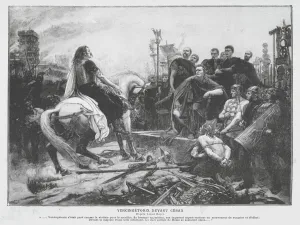
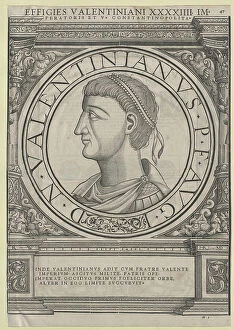
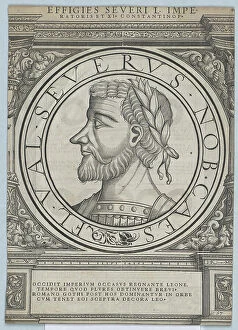
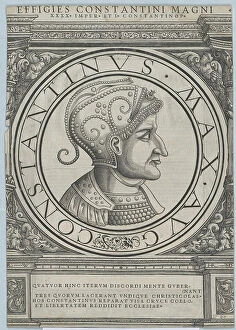
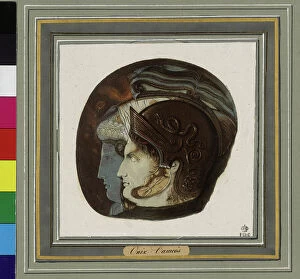
"Exploring the Antic Rome: A Glimpse into Ancient Marvels" Step back in time and immerse yourself in the wonders of Antic Rome. From captivating artworks to historical events, this caption takes you on a journey through ancient Roman culture. Marvel at "The Continence of Scipio, " a mesmerizing oil painting from 1706 that depicts the virtuous act of self-control by Scipio Africanus. The artist's brushstrokes bring to life this tale of honor and restraint. Next, encounter "The Sleeping Hermaphrodite, " an exquisite marble sculpture with an added mattress by Gian Lorenzo Bernini. This masterpiece captures both beauty and ambiguity, reflecting the complexity of human nature. Delve into initiation rites as you gaze upon the fresco from the Villa Dei Mysteri showcasing Dionysian rituals. These mysterious ceremonies offer a glimpse into ancient religious practices that celebrated ecstasy and liberation. Witness history unfold with Emperor Constantine the Great's foundation of Constantinople, once Byzantium. This pivotal moment marked a shift in imperial power and forever transformed Eastern Europe. Admire the intricate Consular diptych of Boethius, an ivory relief dating back to 487 AD. Its delicate craftsmanship tells tales of political authority during late antiquity while highlighting artistic excellence. Relive Julius Caesar's triumph over Vercingetorix at Alesia through an enchanting engraving capturing their historic encounter. The surrender unfolds before your eyes, revealing both bravery and defeat. Experience poignant emotions as Francois Boucher's print portrays "The Death of Cato. " This powerful artwork encapsulates themes such as sacrifice, loyalty, and resilience amidst adversity. Discover treachery within ancient battles depicted in "The Romans nearly overpowering Julius Civilis' army. " Painted between 1600-13, this oil panel reveals how betrayal can alter destinies on tumultuous battlegrounds.