
Battle Of Colenso Collection
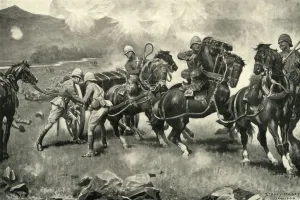
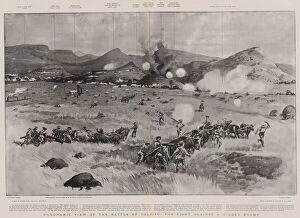
"The Battle of Colenso: A Desperate Attempt to Save the Guns" In this panoramic view of the Battle of Colenso, we witness a fierce fight against a hidden enemy


All Professionally Made to Order for Quick Shipping
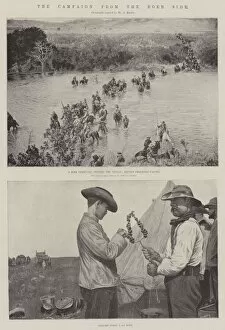
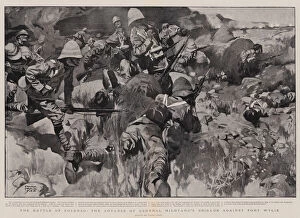
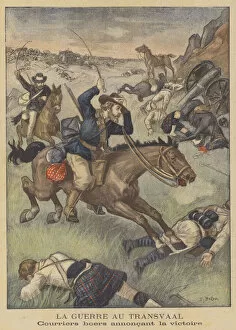
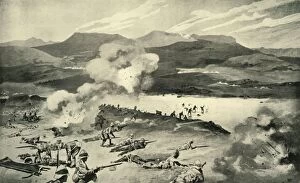
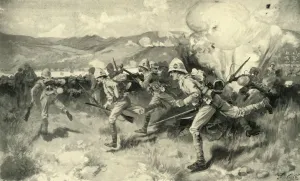
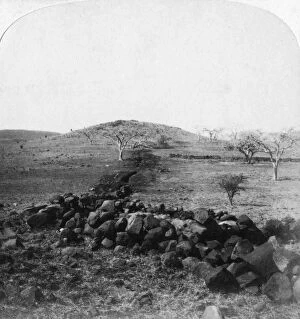
"The Battle of Colenso: A Desperate Attempt to Save the Guns" In this panoramic view of the Battle of Colenso, we witness a fierce fight against a hidden enemy. The lithograph captures the intensity and chaos that unfolded during this crucial moment in history. From the Boer side, another lithograph depicts the campaign from their perspective. It offers a glimpse into their strategy and determination as they defended their territory. One particular litho showcases General Hildyards Brigade advancing against Fort Wylie. This image portrays bravery and resilience as soldiers pushed forward despite facing heavy opposition. "Into the Jaws of Death" is a powerful litho that highlights how one soldier's heroic actions earned him the Victoria Cross at Colenso. It serves as a reminder of the sacrifices made by individuals who fought valiantly on that fateful day. The gravure depicting the Battle of Colenso in 1899 brings to life the chaotic nature of warfare during this time period. It showcases both sides locked in intense combat, each fighting for victory. A black-and-white photo titled "The War in Transvaal" provides an authentic glimpse into life on the battlefield, capturing moments filled with tension and uncertainty. Meanwhile, Boer messengers carrying news of victory at Colenso are depicted in a vibrant color litho. Their triumphant expressions convey pride and hope for their cause. "Some Mothers Will Lose a Son, " another color litho, evokes deep emotions as it reminds us of those left behind who would bear unimaginable loss due to war's brutality. In 1900, The Dublin Fusiliers attempted to ford Tugela River amidst gunfire - an act captured beautifully in an artwork named "The Battle of Colenso. " Their courage shines through even under dire circumstances. Leading central attack was Queens (Royal West Surrey) Regiment - heroes immortalized in yet another depiction from 1900. They exemplify unity and leadership amid the chaos of battle.