
Bayeux Tapestry Collection (page 3)
"The Bayeux Tapestry: A Glimpse into the Epic Battle of 1066" Step back in time and witness the remarkable story depicted on the Bayeux Tapestry


All Professionally Made to Order for Quick Shipping
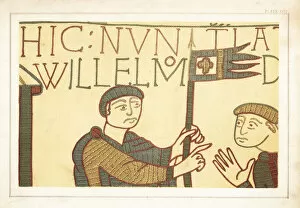
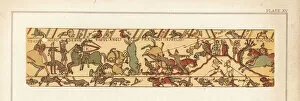
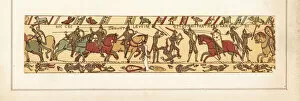
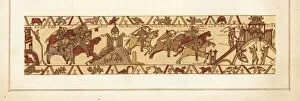
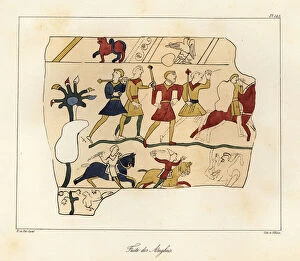
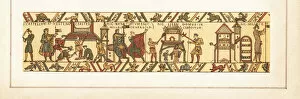
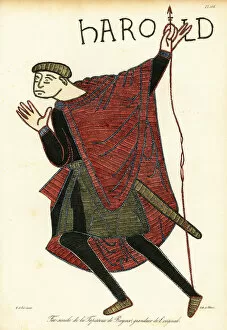
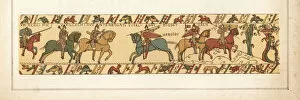
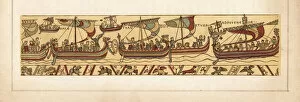
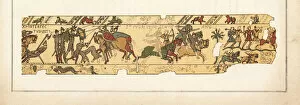
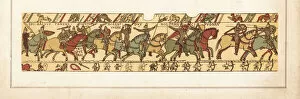
"The Bayeux Tapestry: A Glimpse into the Epic Battle of 1066" Step back in time and witness the remarkable story depicted on the Bayeux Tapestry, a true masterpiece from late 11th century Normandy, France. This historical artifact offers a vivid portrayal of King Harold's foot soldiers, armed with spears and battle axes, ready to defend their land against the Norman invasion. As you explore this intricately woven tapestry, you'll be captivated by scenes such as a grand feast where nobles gather amidst lavish decorations. The unknown creator skillfully captures every detail, transporting us to an era long gone. Tragedy unfolds before your eyes as you witness the death of King Harold himself. The arrow piercing his eye is hauntingly portrayed in this poignant scene that forever changed history. The tapestry also reveals the meticulous preparations for war – shipbuilding in full swing as they brace themselves for an imminent clash between Norman cavalry and Harolds' formidable shield wall formation. It's a testament to human ingenuity and determination during times of conflict. Referred to in France as La Tapisserie de la Reine Mathilde, this magnificent artwork showcases William steering his invasion fleet towards England under Halleys Comet's watchful gaze. Crowds point excitedly at this celestial phenomenon that was believed to foretell significant events. In another gripping moment captured on the tapestry, we see King Harold bravely navigating treacherous waters across the English Channel towards William's forces. His unwavering resolve shines through even amidst adversity. Finally, we witness King Harold arriving from North to confront William head-on – a pivotal moment etched into history forevermore. The Bayeux Tapestry serves not only as a visual spectacle but also as an invaluable source of knowledge about one of Europe's most defining battles. Immerse yourself in these ancient threads that tell tales of bravery and sacrifice, reminding us of the indomitable spirit that shaped our world.