
Boers Collection (page 5)
"Unveiling the Untold Stories of Boers: A Glimpse into their Struggles and Triumphs" Step back in time to the tumultuous era of the Boer War


All Professionally Made to Order for Quick Shipping
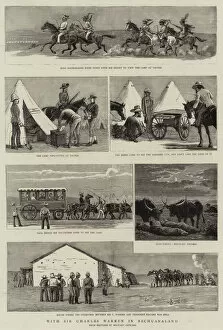
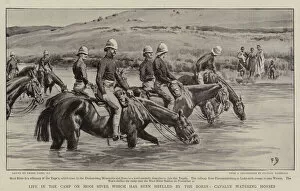
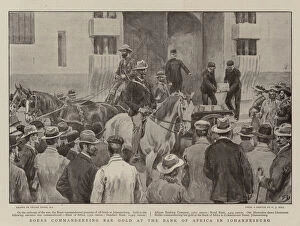
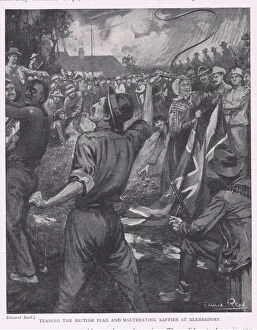
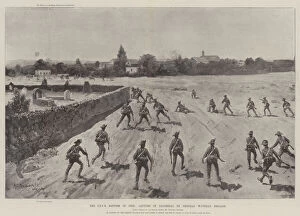
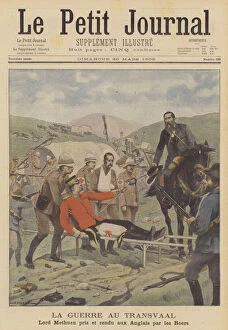
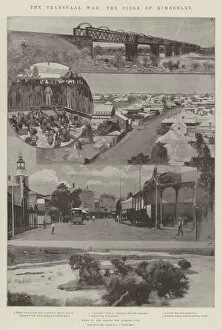
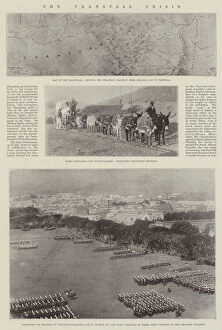
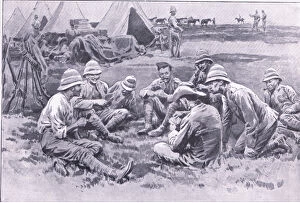
"Unveiling the Untold Stories of Boers: A Glimpse into their Struggles and Triumphs" Step back in time to the tumultuous era of the Boer War, where bravery and resilience defined a nation. From Tweebosch to Colenso, these battlefields witnessed the indomitable spirit of the Boer people. Picture No. 11993320 captures a pivotal moment in history - "The Night Charge of the 19th Hussars Near Lydenberg on Nov. 7th, 1900. " The image freezes time as brave Boer soldiers fiercely defend their land against foreign invaders during this Second Boer War. General Methuen's surrender to de la Rey on March 7th, 1902, stands as a testament to both sides' unwavering determination. This iconic photograph symbolizes not only defeat but also an unyielding fight for freedom. Amidst war-torn landscapes, we delve into lesser-known aspects such as Bishop Colenso's residence at Bishopstowe during the Zulu war. St Peters Church at Pietermaritz serves as a poignant reminder of faith amidst chaos. Before conflict engulfed South Africa, pre-1900 images depict peaceful scenes of African outspanning by Boers. These snapshots offer glimpses into their lives before embarking on the Great Trek - a defining chapter in Victorian history. Even beyond warfare, resistance against British rule manifested through official anti-British First Boer War protest cards that circulated among passionate individuals like Achille Beltrame (1871-1945). Join us on this historical journey as we unravel untold stories and shed light on remarkable moments etched forever in our collective memory—the story of boers—unconquerable warriors who shaped South Africa's destiny with courage and conviction.