
Hastings Collection (page 7)
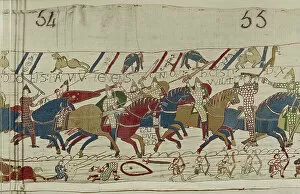
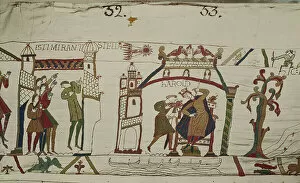
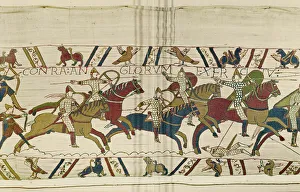
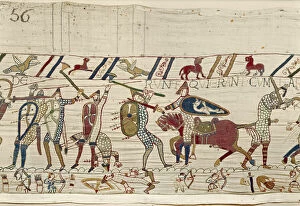
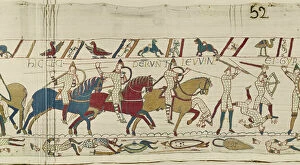
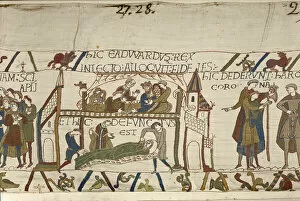
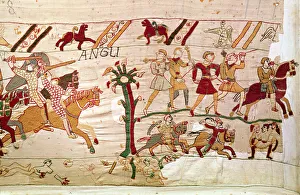
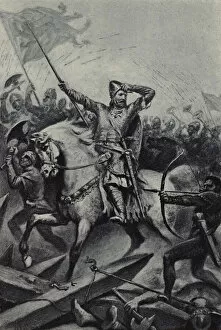
"Hastings: A Tapestry of History and Beauty" Step back in time with the Bayeux Tapestry Scene depicting the tragic demise of King Harold's brothers, Gyrth and Leofwine


All Professionally Made to Order for Quick Shipping
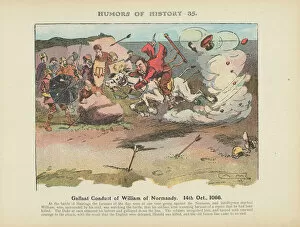
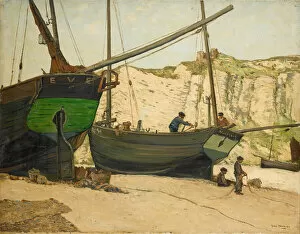
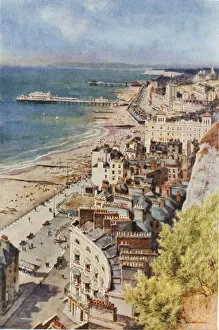
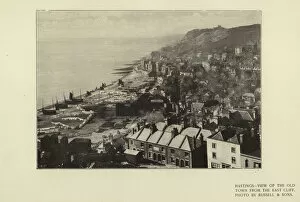
"Hastings: A Tapestry of History and Beauty" Step back in time with the Bayeux Tapestry Scene depicting the tragic demise of King Harold's brothers, Gyrth and Leofwine. This iconic artwork transports us to the Battle of Hastings, a pivotal moment in history that forever changed England. From St Leonards-on-sea, gaze upon the picturesque view from St Leonards Pier. The tranquil waters and stunning coastline create a serene backdrop for this charming seaside town. Witness the vibrant fishing fleet drawn up on the beach, showcasing Hastings' rich maritime heritage. Don't miss a ride on the East Hill lift, offering panoramic views as you ascend towards adventure. For aviation enthusiasts, marvel at Handley Page HP67 Hastings C2 WD493 of No114 Squadron. This historic aircraft symbolizes both innovation and courage during wartime. As dawn breaks over the pier at Hastings, be captivated by its ethereal beauty. The sunrise paints a breathtaking picture against East Sussex's enchanting landscape. Explore St Leonards-on-Sea's Marine Court, an architectural gem nestled along East Sussex's coast. Its grandeur reflects an era gone by while providing modern-day comfort to visitors. Immerse yourself in all that Hastings has to offer – a place where history meets contemporary charm. Discover its unique character through winding streets filled with hidden gems waiting to be uncovered. Travel across continents to witness another Spiral Bridge in Minnesota, USA - reminiscent of our very own namesake town. These remarkable structures connect communities and serve as symbols of progress and unity. RAF Finningley proudly displays RAF Hastings T Mk. 5 - a testament to military prowess and dedication to protecting nations worldwide. Hastings is more than just a name; it represents centuries-old tales etched into tapestries and landscapes alike. Embark on your own journey through time as you unravel its captivating stories firsthand.