
South Africa And The Transvaal War Collection
The Transvaal War, also known as the Second Boer War, was a significant conflict that took place in South Africa during the late 19th and early 20th centuries


All Professionally Made to Order for Quick Shipping
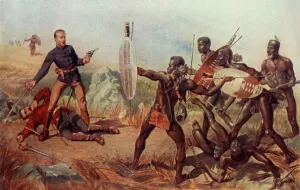
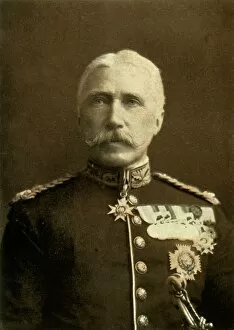
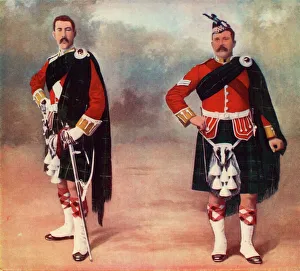
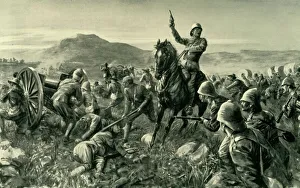
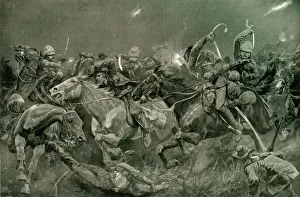
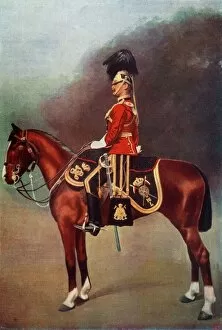
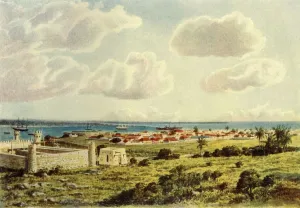
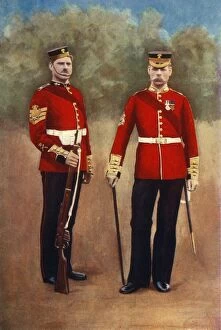
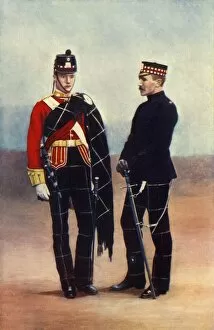
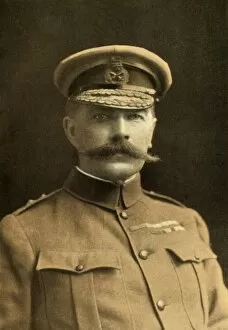
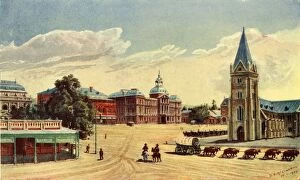
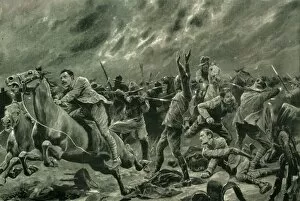
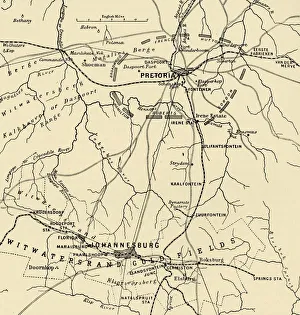
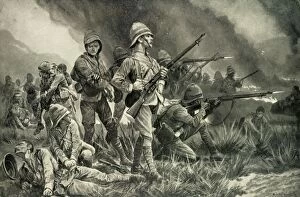
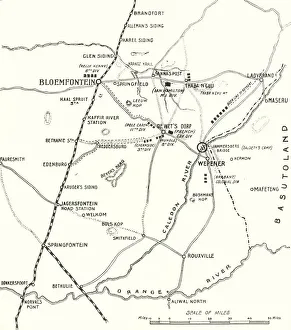
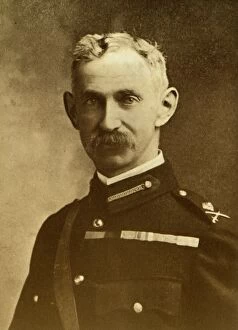
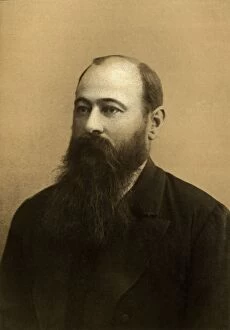
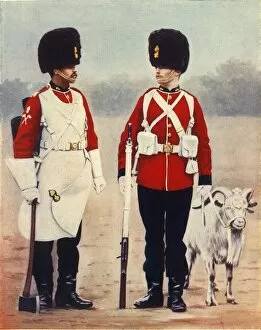
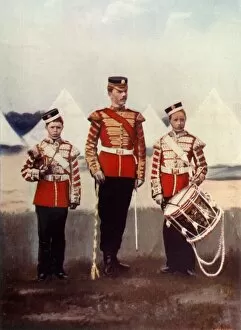
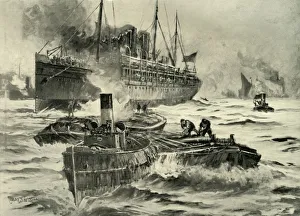
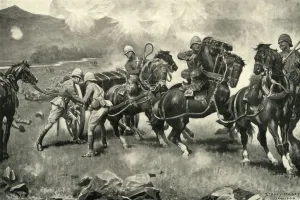
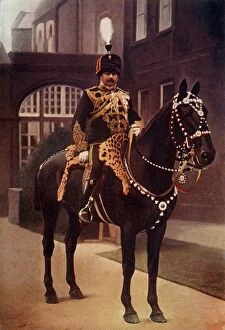
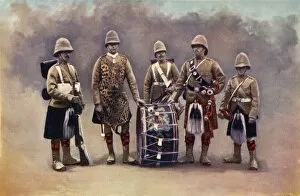
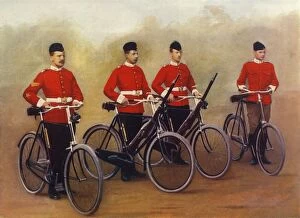
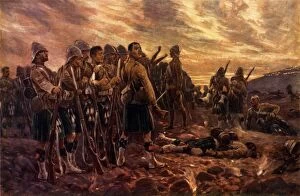
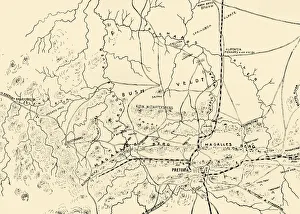
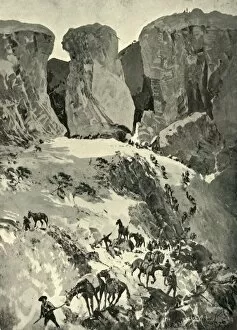
The Transvaal War, also known as the Second Boer War, was a significant conflict that took place in South Africa during the late 19th and early 20th centuries. This caption explores various aspects of this war through a collection of images. One image depicts a general map of British South Africa in 1900. It showcases the vastness of the region and highlights key areas affected by the war. Another photograph captures Household Cavalry-Captain from the 2nd Life Guards in action during this tumultuous period. Their bravery and dedication to duty are evident. Lieutenants Melvill and Coghill from the 24th Regiment are immortalized in another picture, showing them dying while trying to save Queen's Colours. Their sacrifice symbolizes the unwavering loyalty displayed by many soldiers during this conflict. The Cape Town Highlanders are portrayed proudly in their uniforms, representing one of many regiments involved in defending British interests against Boer forces. Lord Methuen is seen rallying his broken forces at Tweebosch, demonstrating leadership amidst adversity. A dramatic image captures The Night Charge of the 19th Hussars near Lydenberg on November 7th, 1900 – an example of daring cavalry maneuvers employed during battle. An officer from the esteemed 16th Lancers is depicted with dignity and poise amidst turbulent times. Major-General Hector A. Macdonald stands tall in his portrait; he played a crucial role as a military leader during this challenging period for British forces. General Sir Bindon Blood is also featured - his strategic acumen proved vital to eventual victory. Another captivating image portrays Boers charging during The Fight at Brakenlaagte – showcasing both sides' determination and fierce fighting spirit throughout this protracted war. Delagoa Bay is captured beautifully; it served as an important port for supplies transported to support troops engaged in combat across South Africa.