Jigsaw Puzzle > Mary Evans Prints Online > National Archives
Jigsaw Puzzle : Medical Journal


![]()
Jigsaw Puzzles from Mary Evans Picture Library
Medical Journal
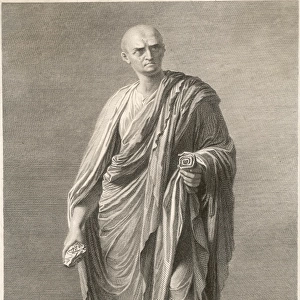
Frigate Success 1840 medical journal, diving operations by Col Pasley, RE on the wreck of HMS Royal George Date: 1840
Mary Evans Picture Library makes available wonderful images created for people to enjoy over the centuries
Media ID 7400895
© Mary Evans Picture Library 2015 - https://copyrighthub.org/s0/hub1/creation/maryevans/MaryEvansPictureID/10473642
Adm101 Diver Divers Document Documents Ship Wreck
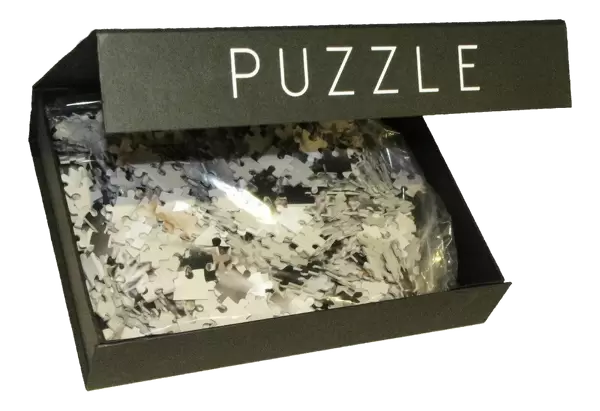
Jigsaw Puzzle (1000 Pieces)
Discover the intriguing history of maritime medicine with our captivating jigsaw puzzle from the Media Storehouse collection. This beautifully detailed puzzle depicts a fascinating image from Mary Evans Prints Online, titled "Medical Journal" (Frigate Success 1840, medical journal, diving operations by Col Pasley, RE on the wreck of HMS Royal George). Immerse yourself in the story of the 1840 medical journal documenting underwater exploration during the diving operations on the wreck of HMS Royal George. Ideal for puzzle enthusiasts and history buffs alike, this challenging yet rewarding puzzle offers a unique glimpse into the past. Piece together the captivating details and bring this intriguing piece of history to life in your own home.
1000 piece puzzles are custom made in Australia and hand-finished on 100% recycled 1.6mm thick laminated puzzle boards. There is a level of repetition in jigsaw shapes with each matching piece away from its pair. The completed puzzle measures 76x50cm and is delivered packaged in an attractive presentation box specially designed to fit most mail slots with a unique magnetic lid
Jigsaw Puzzles are an ideal gift for any occasion
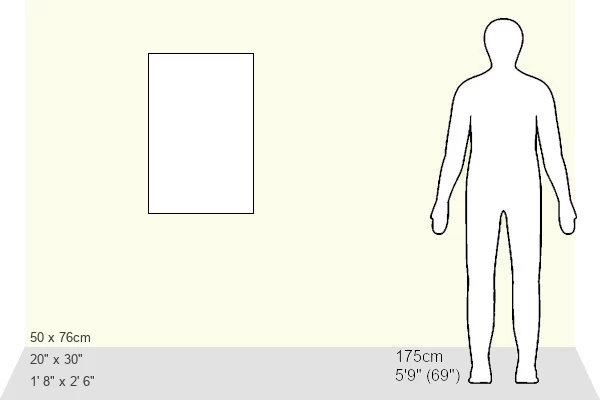
Estimated Product Size is 50.2cm x 76cm (19.8" x 29.9")
These are individually made so all sizes are approximate
Artwork printed orientated as per the preview above, with landscape (horizontal) or portrait (vertical) orientation to match the source image.
EDITORS COMMENTS
This print depicts a pivotal moment in maritime history, as documented in the Medical Journal of the Frigate Success during diving operations on the wreck of HMS Royal George in 1840. The image, captured by Colonel Pasley of the Royal Engineers, showcases the daring exploits of early-era divers as they explore the depths of the submerged warship. The HMS Royal George, a formidable 98-gun third-rate ship of the line, had sunk in the Solent, off the south coast of England, during King George III's reign in 1800. The cause of the sinking remains a mystery, but the disaster claimed over 800 lives. More than a century later, in 1840, the British Navy, under the guidance of Colonel Pasley, embarked on an ambitious project to investigate the wreck and recover valuable artifacts. The print offers a fascinating glimpse into the diving equipment and techniques used during this groundbreaking expedition. The diver, clad in a bulky, lead-lined suit and armed with an air hose and a diving helmet, bravely descends into the murky waters. The shipwreck looms in the background, its wooden hull and cannons partially submerged, while support vessels and crew members stand by, ready to assist. The Medical Journal of the Frigate Success, where this image was originally published, provides invaluable insights into the diving operations and the health and safety concerns of the divers. The journal also includes detailed accounts of the artifacts recovered from the wreck, offering a unique perspective on the historical significance of the HMS Royal George and the advancements in underwater exploration during the 19th century. This print is an essential addition to any collection focusing on maritime history, naval warfare, or the history of diving and underwater exploration. Its historical value and intriguing subject matter make it a captivating and educational piece for researchers, history enthusiasts, and art collectors alike.
MADE IN AUSTRALIA
Safe Shipping with 30 Day Money Back Guarantee
FREE PERSONALISATION*
We are proud to offer a range of customisation features including Personalised Captions, Color Filters and Picture Zoom Tools
SECURE PAYMENTS
We happily accept a wide range of payment options so you can pay for the things you need in the way that is most convenient for you
* Options may vary by product and licensing agreement. Zoomed Pictures can be adjusted in the Cart.