Poster Print > Arts > Artists > M > Garrick Mallery
Poster Print : Battle of Little Big Horn - Custers Dead Cavalry (colour litho)
")

![]()
Poster Prints from Fine Art Finder
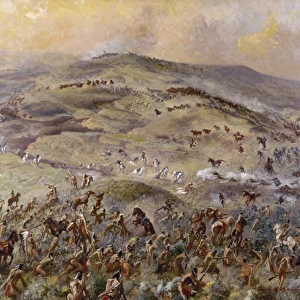
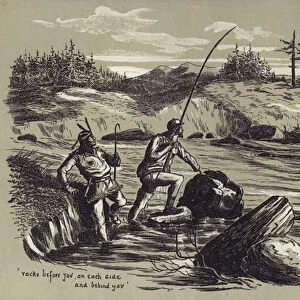
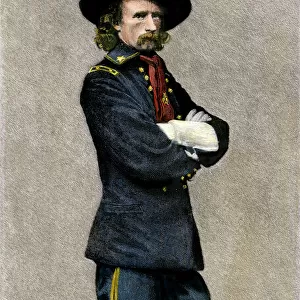
Battle of Little Big Horn - Custers Dead Cavalry (colour litho)
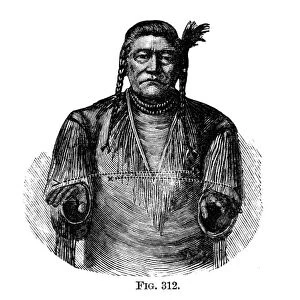
980724 Battle of Little Big Horn - Custers Dead Cavalry (colour litho) by American School, (19th century) (after); Private Collection; (add.info.: Battle of Little Big Horn - Custers Dead Cavalry. Illustration for an article on Picture-writing of the American Indians by Garrick Mallery. From the Tenth Annual Report of the Bureau of Ethnology to the Secretary of the Smithsonian Institution, 1888-89 by J W Powell, Director (Washington, Government Printing Office, 1893).); Look and Learn / Elgar Collection
Media ID 25500260
© Look and Learn / Elgar Collection / Bridgeman Images
1876 American Indian American Indians American Native Indians Anthropology Arrow Arrows Battles Casualties Casualty Cavalry Division Cavalry Man Cavalry Regiment Cavalryman Cavalrymen Corpse Corpses Custer Custers Last Stand Engravings Ethnographic Ethnology Fatalities Fatality George Armstrong Custer Great Sioux War Indian Wars Indigenous Little Bighorn North American Northern Cheyenne Peoples United States Army Battle Field Battle Of Little Big Horn Brawl Brawling Defensive Weapon Fighting Conflict General Custer Lakota Sioux Little Big Horn
A4 (29.7 x 21cm) Poster Print
Experience history come to life with our stunning Battle of Little Big Horn - Custers Dead Cavalry poster print from Media Storehouse. This captivating color lithograph, inspired by the American School of the 19th century, depicts the iconic moment from the infamous Battle of Little Big Horn. The intricate details and vibrant colors bring the scene to life, making this poster a must-have for history enthusiasts and art lovers alike. With its rich heritage and authentic detail, this poster is not just a decorative piece, but a window into the past. Add this Battle of Little Big Horn - Custers Dead Cavalry poster print to your collection and relive the legend.
Premium quality poster prints are printed on luxurious semi-gloss satin 270 gsm paper. Our meticulously crafted poster prints offer an affordable option for decorating any space, making them ideal for living rooms, bedrooms, offices and beyond. To ensure your poster arrives in good condition, we roll and send them in strong mailing tubes.
Poster prints are budget friendly enlarged prints in standard poster paper sizes (A0, A1, A2, A3 etc). Whilst poster paper is sometimes thinner and less durable than our other paper types, they are still ok for framing and should last many years. Our Archival Quality Photo Prints and Fine Art Paper Prints are printed on higher quality paper and the choice of which largely depends on your budget.
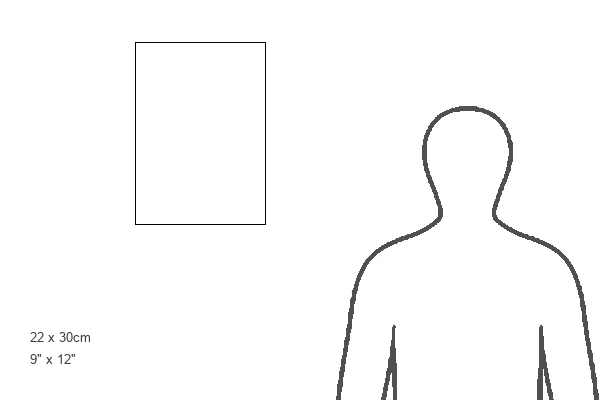
Estimated Image Size (if not cropped) is 20.5cm x 30.3cm (8.1" x 11.9")
Estimated Product Size is 21.6cm x 30.3cm (8.5" x 11.9")
These are individually made so all sizes are approximate
Artwork printed orientated as per the preview above, with portrait (vertical) orientation to match the source image.
FEATURES IN THESE COLLECTIONS
> Fine Art Finder
> Schools
> American School
> Fine Art Finder
> Temp Classification
> Animals
> Mammals
> Muridae
> Western Mouse
> Arts
> Artists
> I
> Indian School Indian School
> Arts
> Artists
> M
> Garrick Mallery
> Arts
> Artists
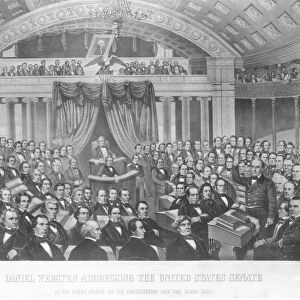
> W
> George Washington
> Arts
> Artists
> W
> Georges Washington
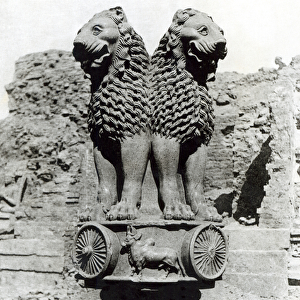
> Asia
> India
> Related Images
> Asia
> Related Images
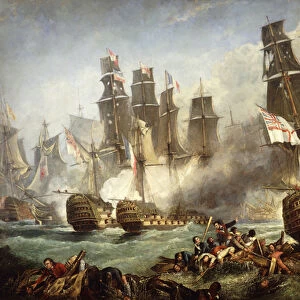
> Historic
> Battles
> Battle at Little Bighorn
> Historic
> Battles
> Related Images
> North America
> Related Images
EDITORS COMMENTS
This print titled "Battle of Little Big Horn - Custers Dead Cavalry" takes us back to a significant moment in American history. The image, a colour lithograph created by the American School in the 19th century, depicts the aftermath of the infamous Battle of Little Big Horn. The scene is hauntingly powerful, showcasing the devastating consequences of this clash between General Custer's cavalry and Native American tribes. Strewn across the battlefield are fallen soldiers, both Native Americans and members of the United States Army. Their lifeless bodies serve as a poignant reminder of the high cost paid during this fierce confrontation. The print was originally featured in an article on Picture-writing of the American Indians by Garrick Mallery, published in 1888-89. It offers viewers a glimpse into ethnographic and social aspects surrounding this historical event. With its intricate details and masterful execution, this engraving captures not only the physicality but also the emotional weight carried within each corpse. It serves as a testament to both sides' bravery and sacrifice during one of America's most significant battles. As we observe this piece from Fine Art Finder's Bridgeman Images collection, we are transported back to that fateful day in 1876 when George Armstrong Custer met his demise at Little Big Horn. This artwork stands as a solemn tribute to all those who lost their lives on that battlefield—a somber reminder etched forever into our collective memory.
MADE IN AUSTRALIA
Safe Shipping with 30 Day Money Back Guarantee
FREE PERSONALISATION*
We are proud to offer a range of customisation features including Personalised Captions, Color Filters and Picture Zoom Tools
SECURE PAYMENTS
We happily accept a wide range of payment options so you can pay for the things you need in the way that is most convenient for you
* Options may vary by product and licensing agreement. Zoomed Pictures can be adjusted in the Cart.